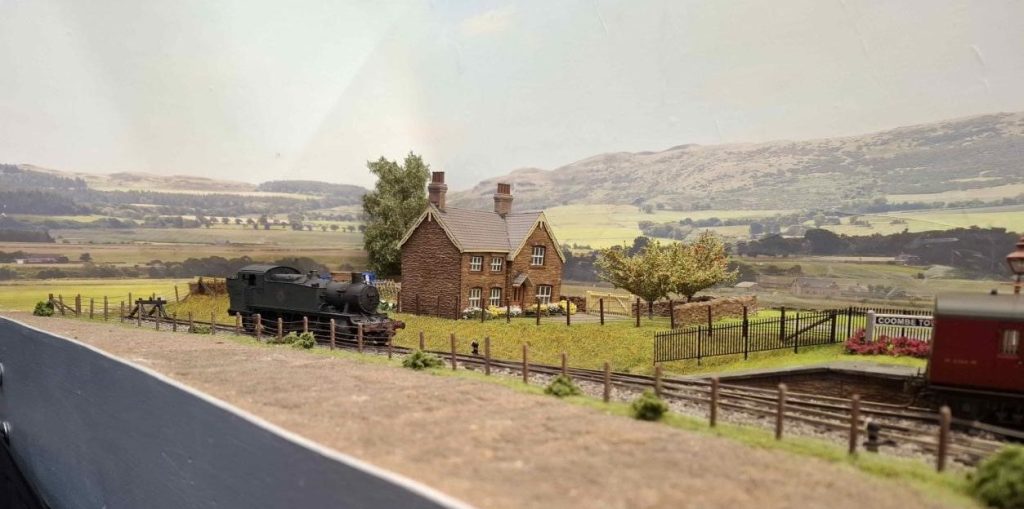
First off is Dom with an update on “Coombe Town”, his 4mm 00 Gauge rendition of a GW branch line terminus. The layout had a successful debut at the RMWeb South-West Area Group show in Taunton back in April. Good operation through the day, though he did find that the 2251 was a little long for the location of the headshunt uncoupling magnet. It was also the first time the Station Master’s House in its mostly finished guise was shown wih its presence greatly enhancing that end of the layout.
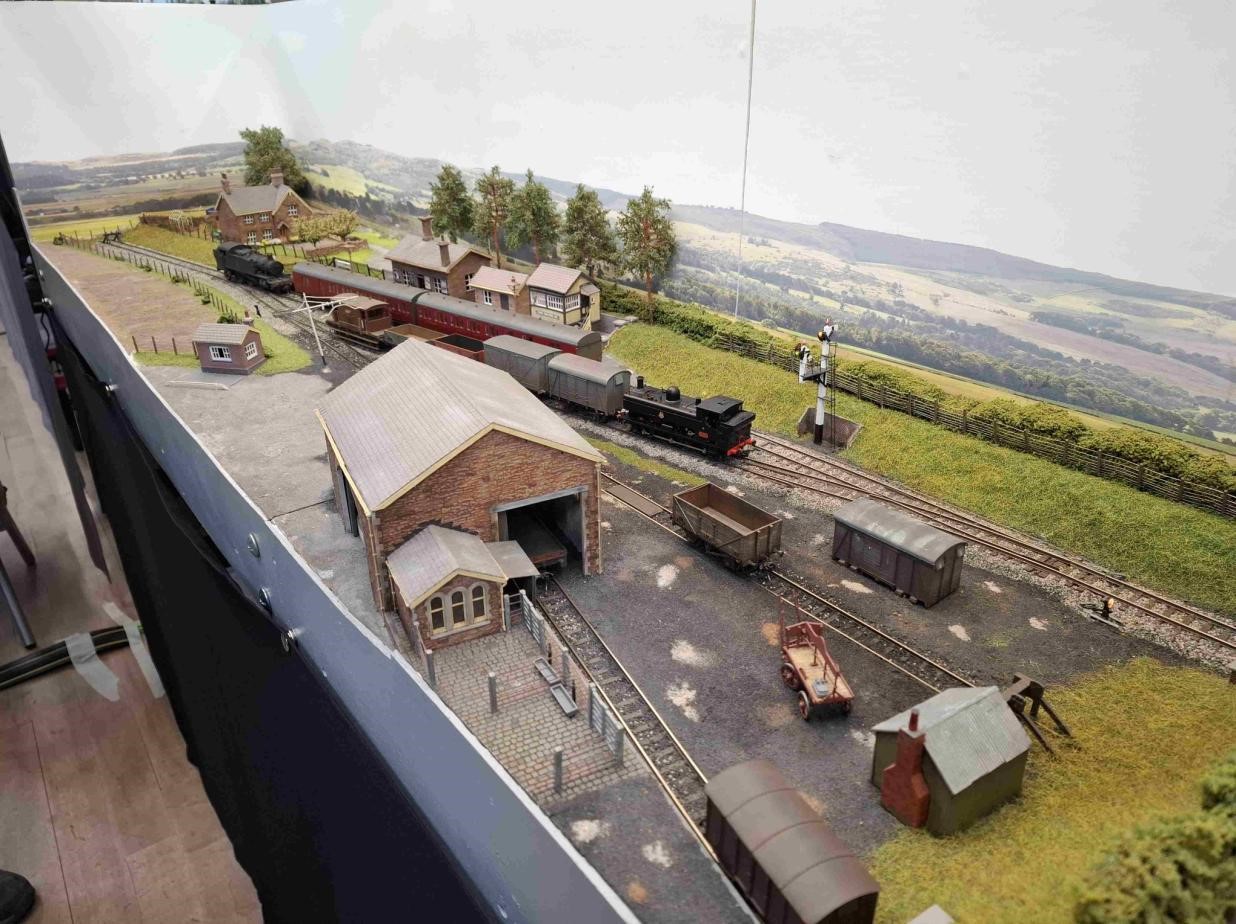
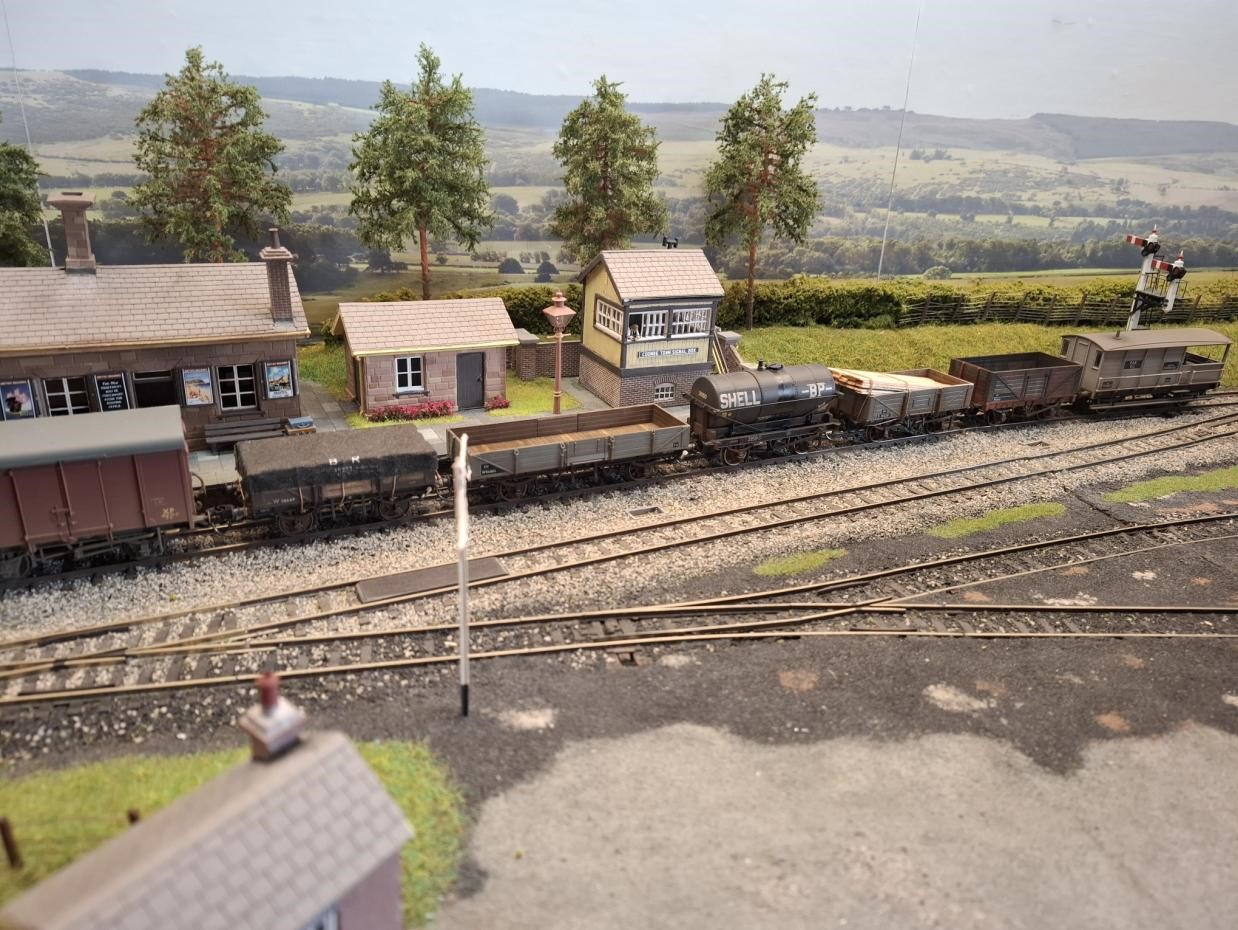
The first two pictures were taken at the show. It’s been quiet in the intervening months, but Dom is now gearing up for the Thornbury Show on Nov 21st & 22nd where Coombe Town will make its ‘public’ debut. Most of the work has focused on weathering and loading of wagons (above the line-up of the wagons completed this week) but Dom is hoping to complete some other detailing bits as well.
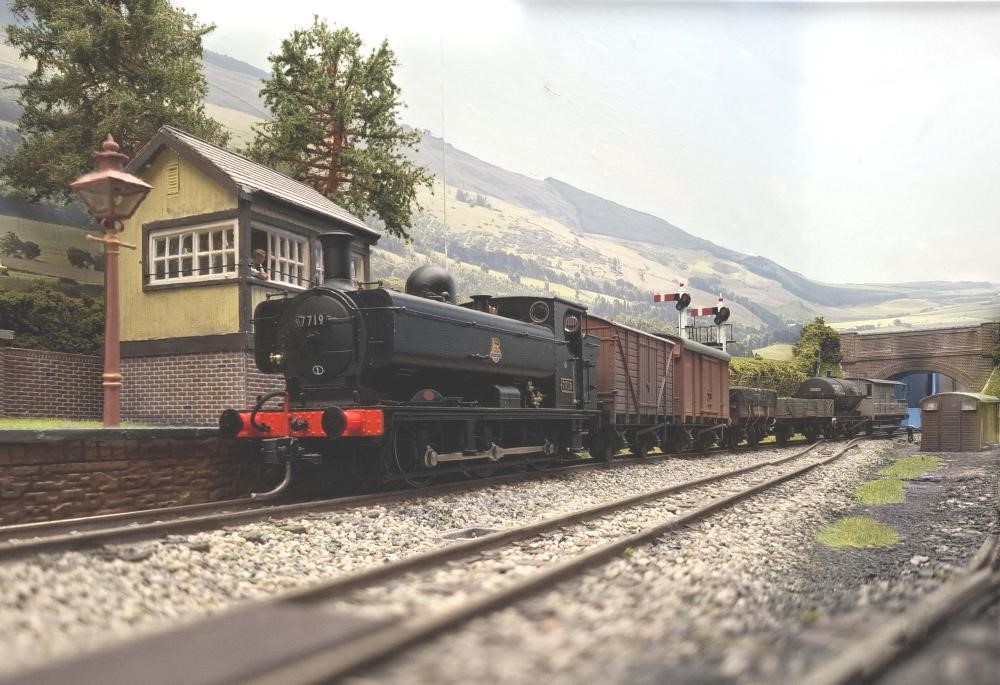
He’s also indulged in a final image showing 7719 arriving into the station capturing the atmosphere of the layout.”
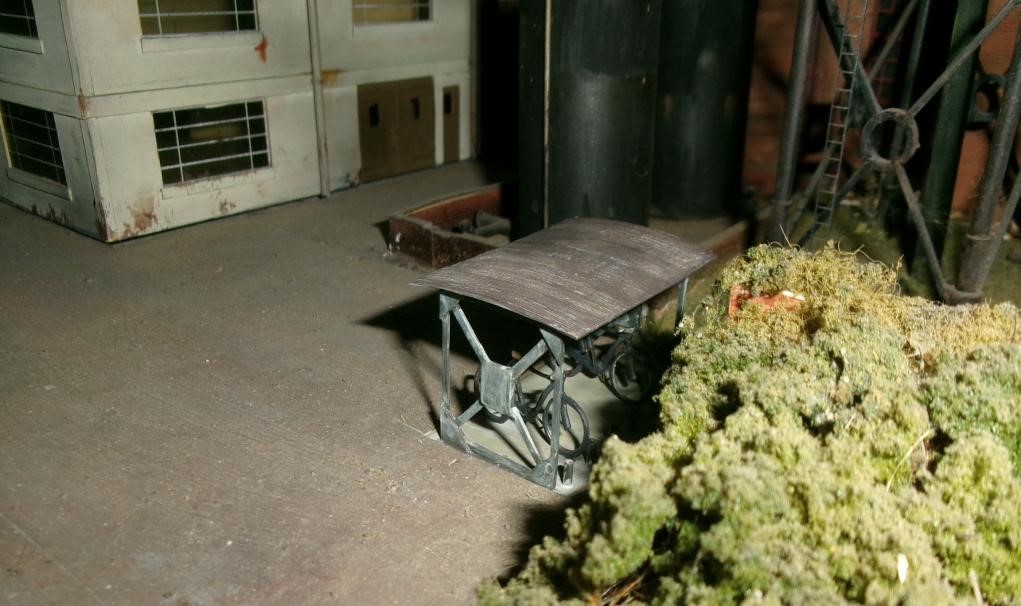
Pete C (the Layout Co-ordinator for our EM club layout South Junction) is pleased to report that a bicycle shed (with bicycles) has at long last been provided for the factory to enhance its green credentials.
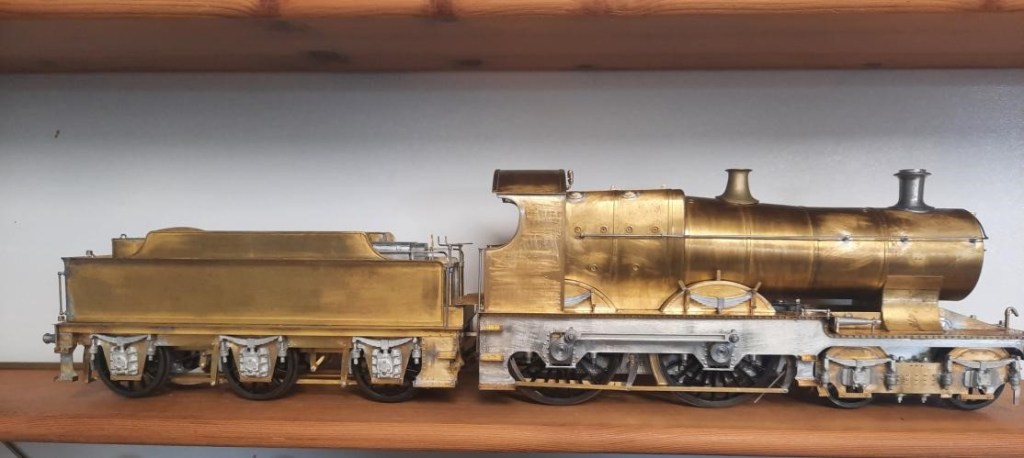
Dave H has finished detailing his 7mm scale O Gauge City of Gloucester – and it’s almost ready for the paint shop. he’s trying to scratch some dummy inside valve gear to fill the hole under the boiler. He’s also trying to put together tiny N gauge wagons for the (wagon) competition, which is quite a contrast.
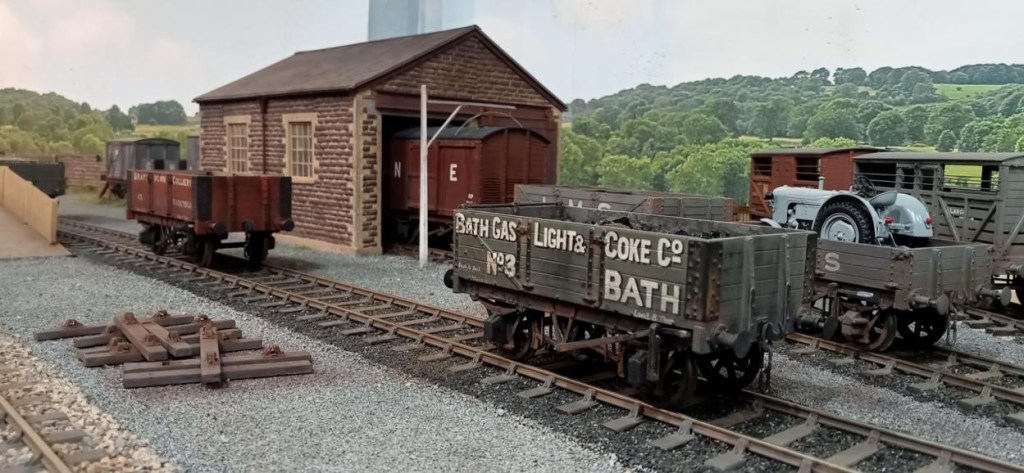
Allan H has been working on his goods shed for his 7mm scale model of Cole on the erstwhile Somerset and Dorset main line:
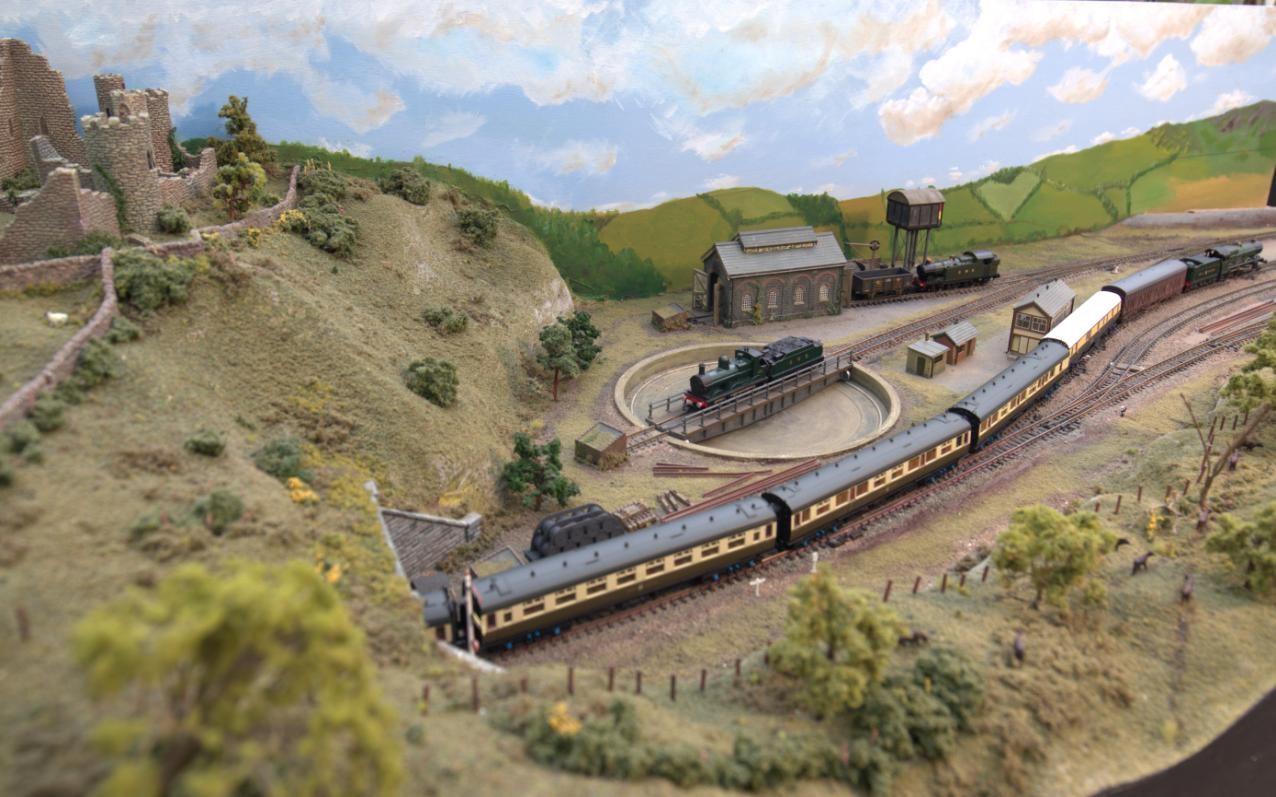
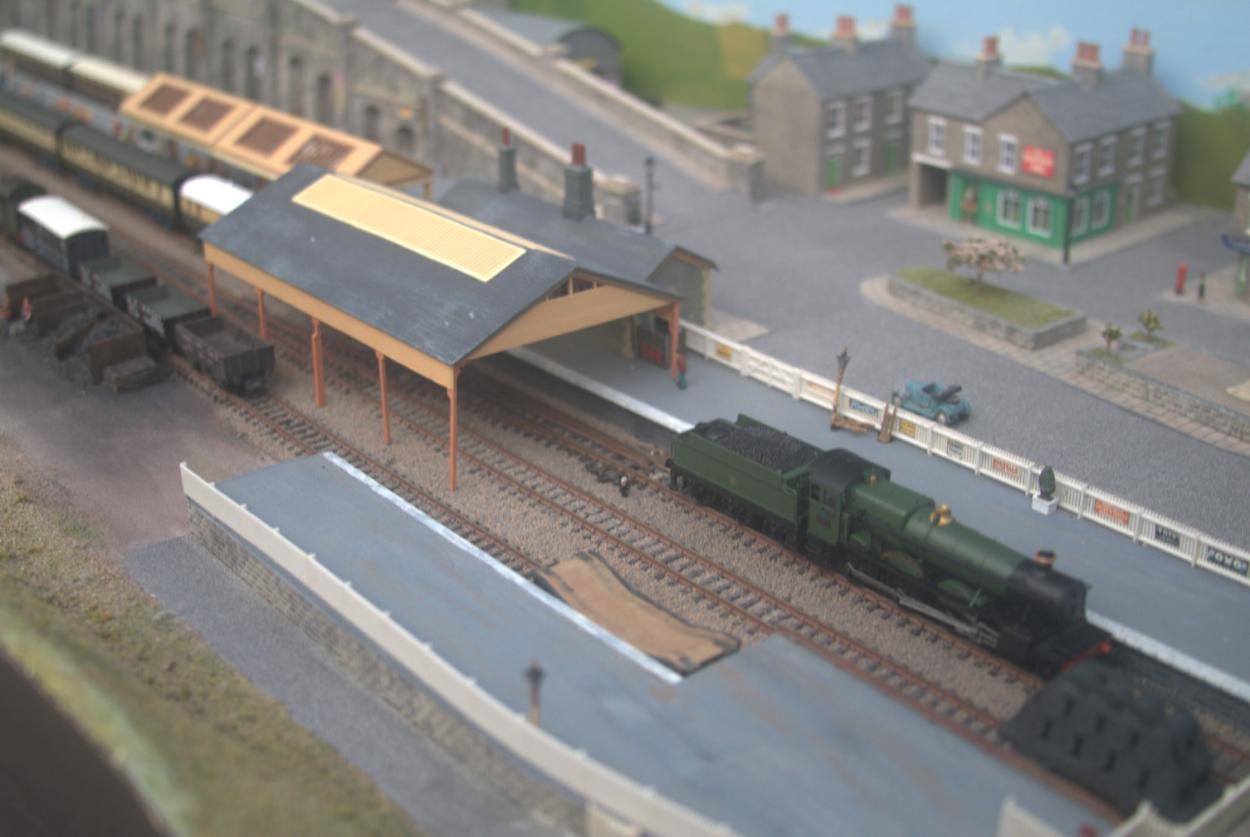
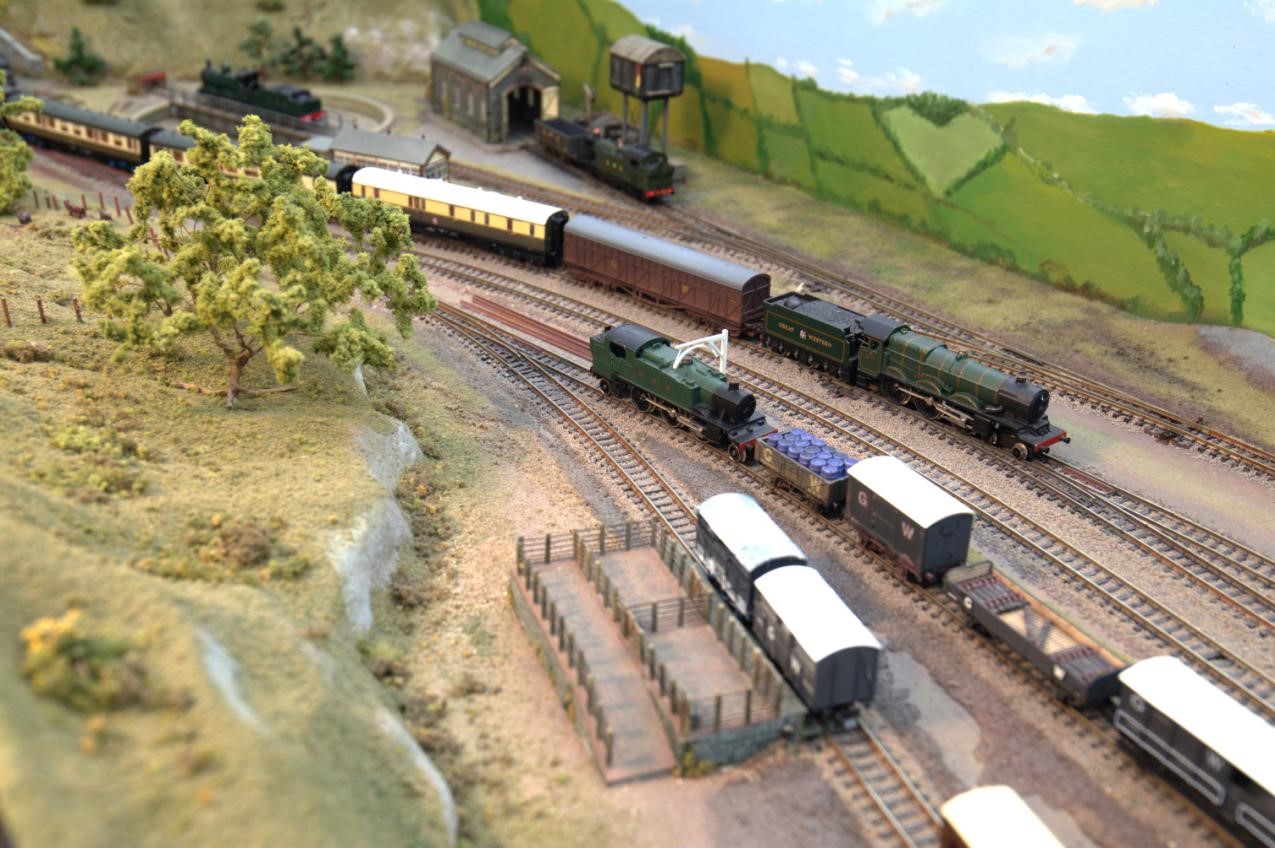
Continuing the West Country theme, Secretary Dean has been beavering away at home on an N scale rendition of Kingswear, when he is not trying to push along the various club layouts in the Chicken Shed:
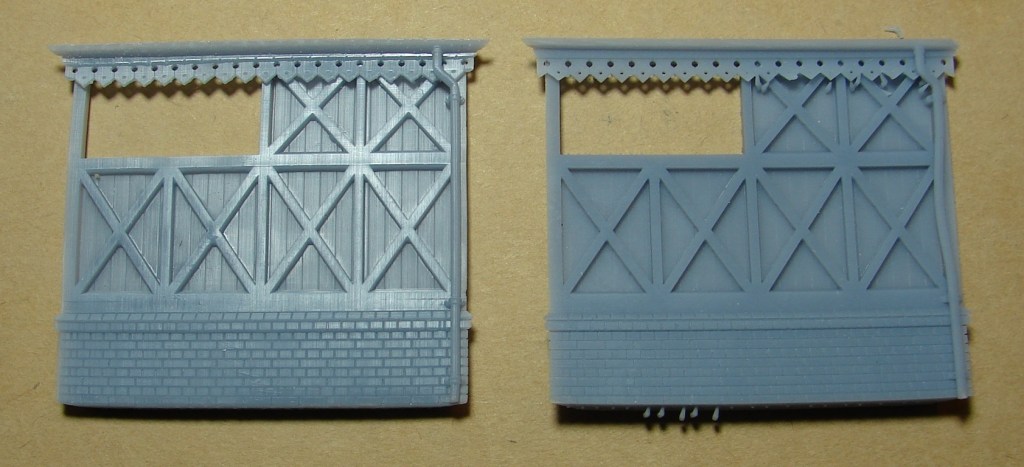
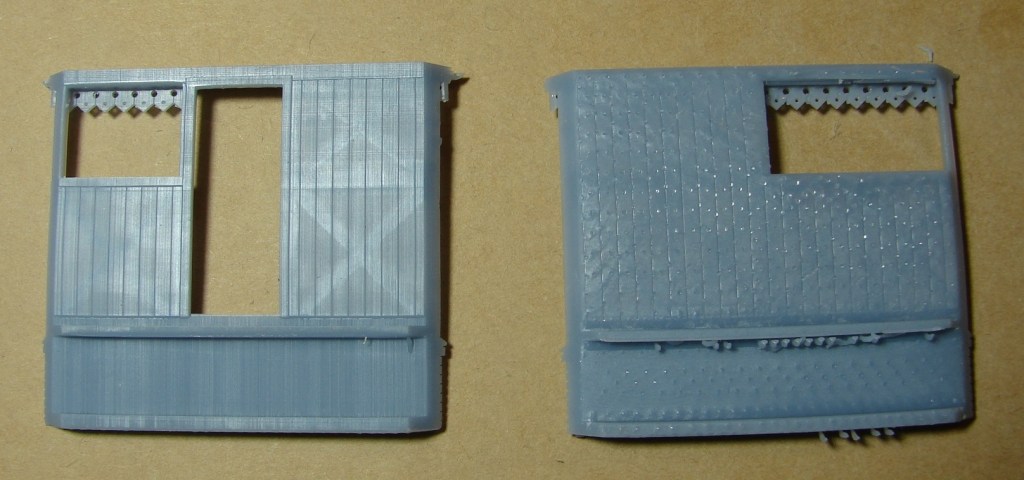
In the early part of this period Steve was grappling with the problems of 3D printing his 4mm scale LSWR Type 1 Victorian style signal box. Ideally you would want the ‘good’ face opposite any supports, and the complication here is the decorative valence. The first attempt (right) was printed leaning up at 19° from horizontal. The outside faired quite well apart from the curved bottom and distortion of the downpipe (the latter likely due to over drying overnight before curing), but the pimply interior was simply ‘orrible. In this case two fair faces were needed so Steve tried printing the sides plumb upright with the supports coming up from the bottom (left). Surprisingly this resulted in the valance being formed moderately successfully though it needed cleaning up a little and the valance and guttering wasn’t so good at the ends. The next question was could they be printed upside down, thus favouring the valancing, with knife edge supports to form the bottom of the window and door openings correctly?
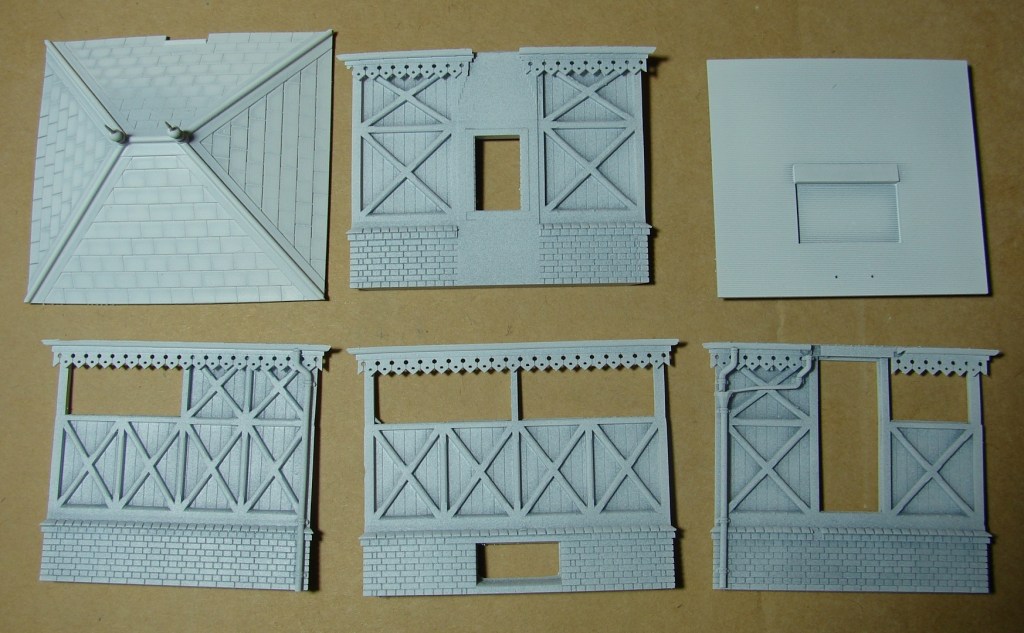
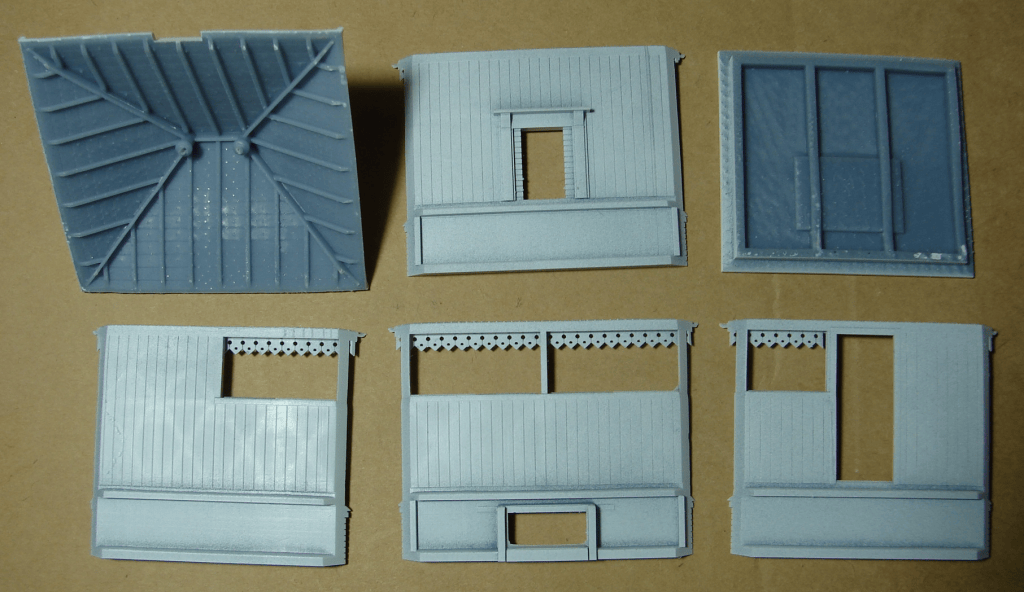
That worked better than expected, giving what must be the least worst option for any of the Type 1 boxes with decorative valancing. The downsides being the pimply upsides, in this case the tops of the locking room cill, and lowest frame member and guttering! By this point it had been decided that the bracing without the characteristic chamfers looked a bit heavy once painted. Adding them in a scripted CAD was what an esteemed ex-colleague like to describe as a ‘SMoP’ – Small Matter of Programming, so over a couple of enjoyable days (mostly gardening) a plan to apply them was cooked up and executed as can be seen above. The 3D printed finials on the roof had proved very fragile, so a hole was 3D printed through the balls for a metal spike to be inserted turned from 0.5mm brass wire. This hole didn’t drain and the boss underneath was mutilated by the drainage hole so a revised version had large drainage holes exiting the side of the boss under the ridge, and this with unmolested bosses beneath did drain when printed.
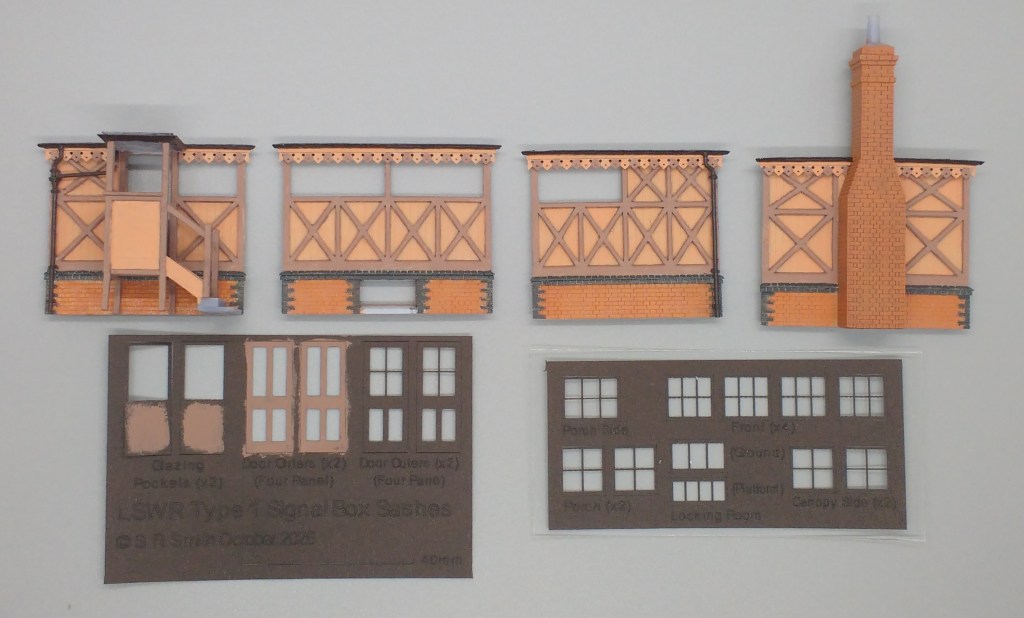
Towards the end of the period being painted in matt enamels, Humbrol 61 (Flesh) and 234 (Dark Flesh), and the metalwork in Precision Paints’ LSWR Building Brown, this being Steve’s take on the three colour scheme in use before about 1900. The few photos from that era show that the framing was only a little darker than the panels. The sashes were drawn up in QCAD and imported to the Sculpfun Windows app as a dxf file where the text had to be added and the imported lines sorted into cut (red) and scribe (blue), for cutting in Steve’s iCube Ultra. The lettering is scribed. It is assumed that the door was frame colour rather than sash colour as was also the case in more recent times. This is Verwood box as it was before about 1900 with a ten lever frame with green distant levers. Tyer’s No.1 ETTs were installed in 1885, and Tyer’s No.3 could have been fitted from 1894. It’s tempting to go with either No.3, or No.1s with No.3 tops, this being a common upgrade to get round the main limitation of the No.1 ETTs in that the token wasn’t returnable.
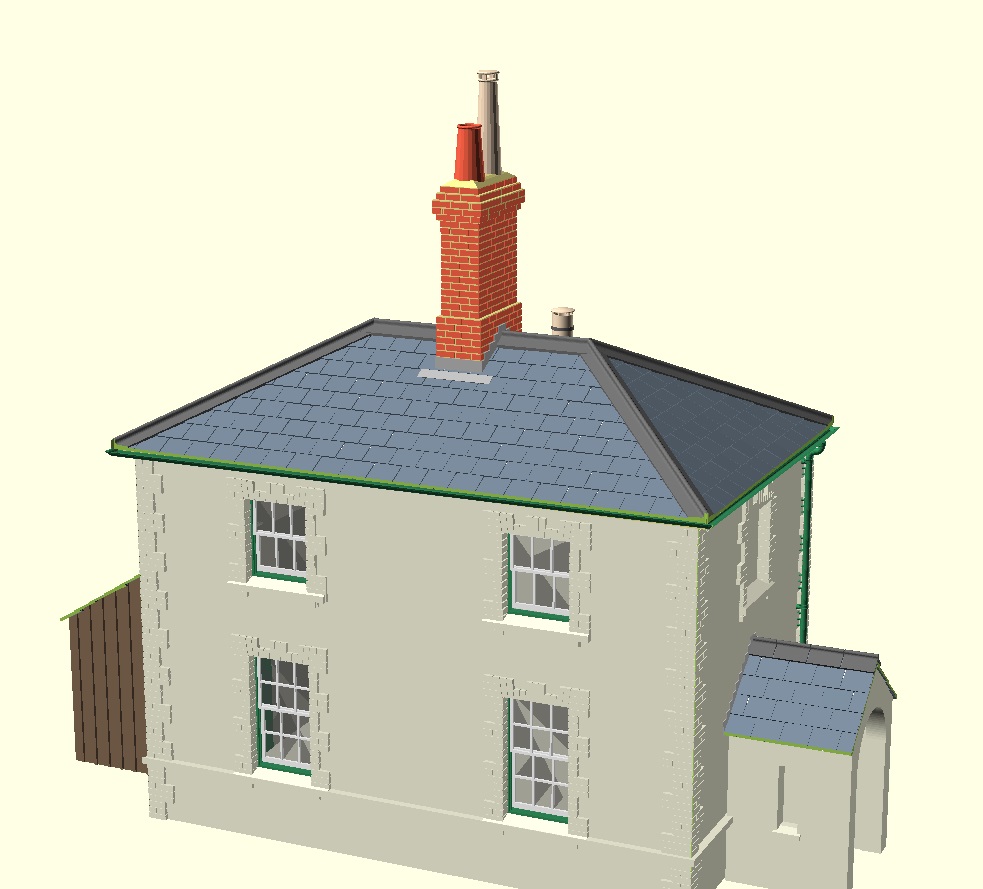
To go with Steve’s West Moors Signal Box the elegant but tiny crossing keepers cottage that was opposite the box. As before these are from 2D drawings from QCAD extruded and organised in OpenSCAD.
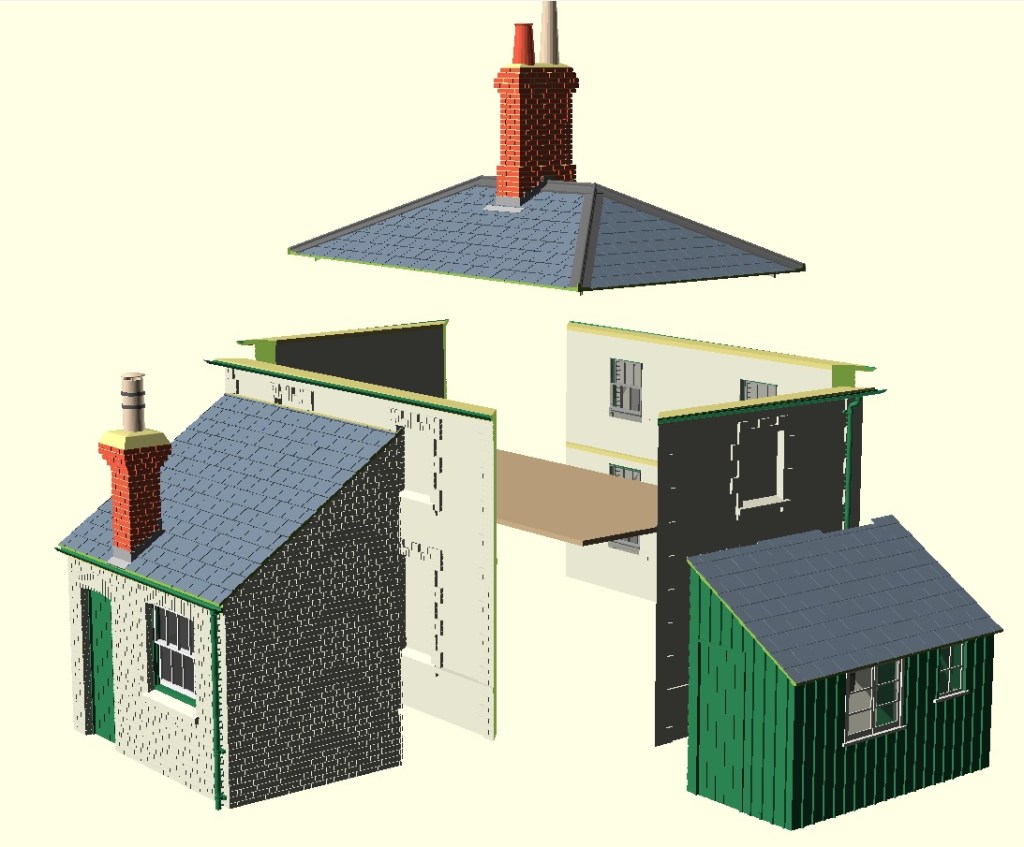
The elegant, but tiny building was rendered a little more convenient with a couple of ‘characterful’ carbuncles extensions, the scullery having a monstrous chimney.
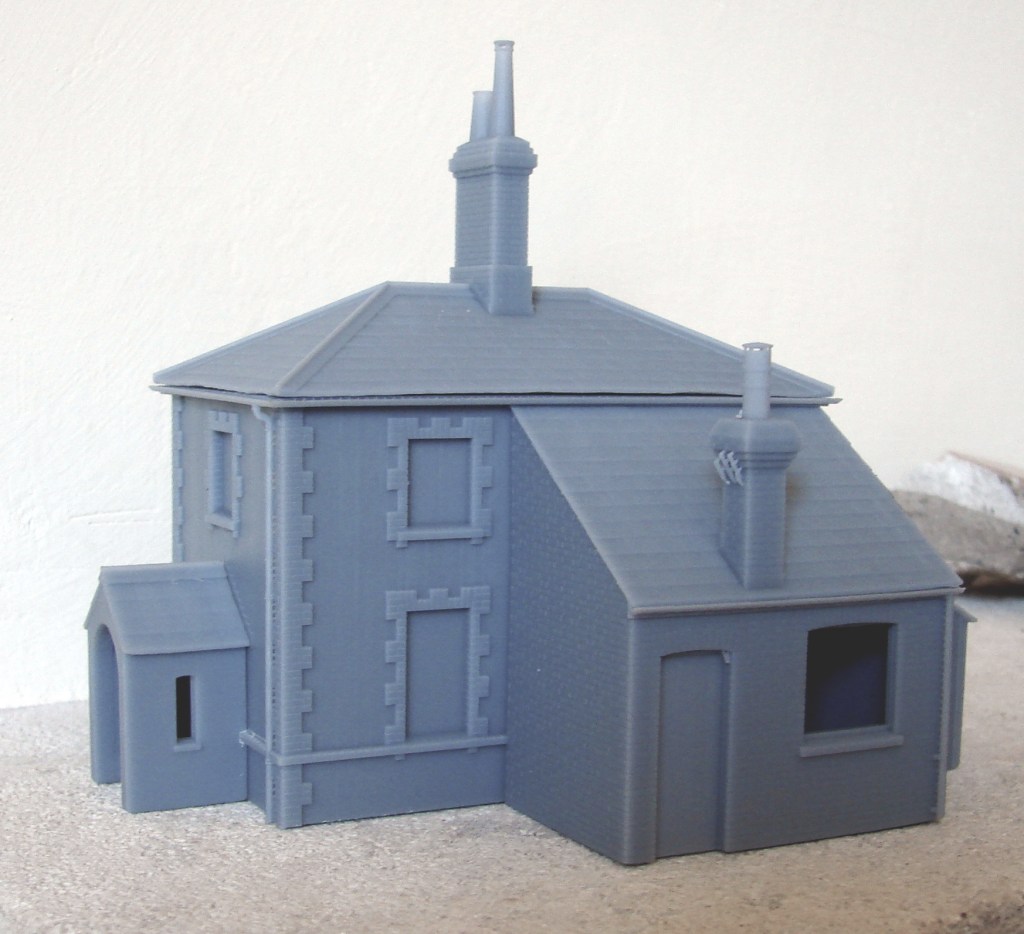
Needs paint, but very impressed that the chimneys (and cowls) on this 4mm scale print all came out perfectly formed. Despite the exploded render above indicating otherwise, it was found that the core walls of the building could be printed in one piece.
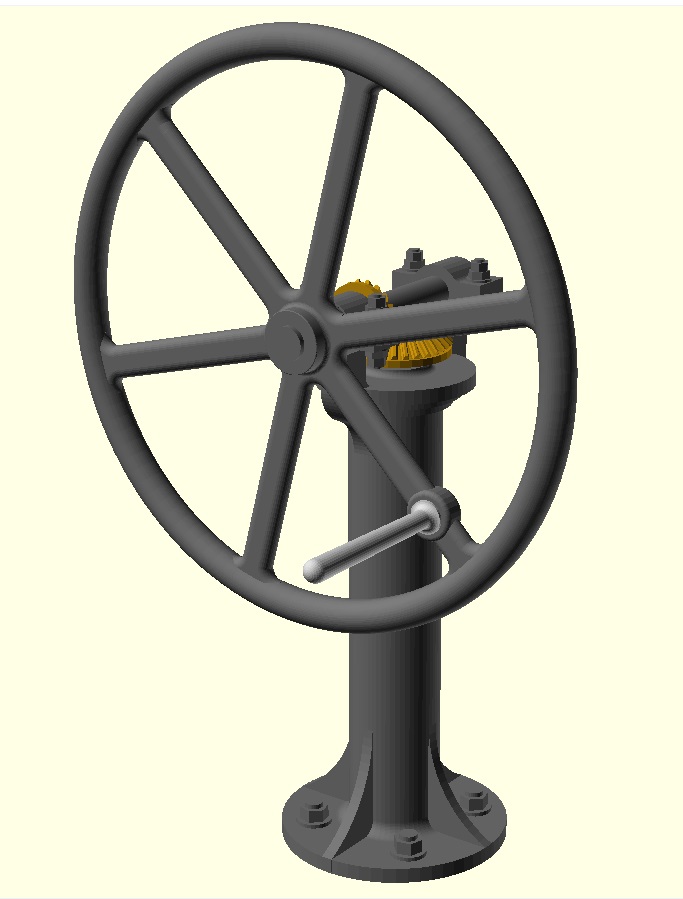
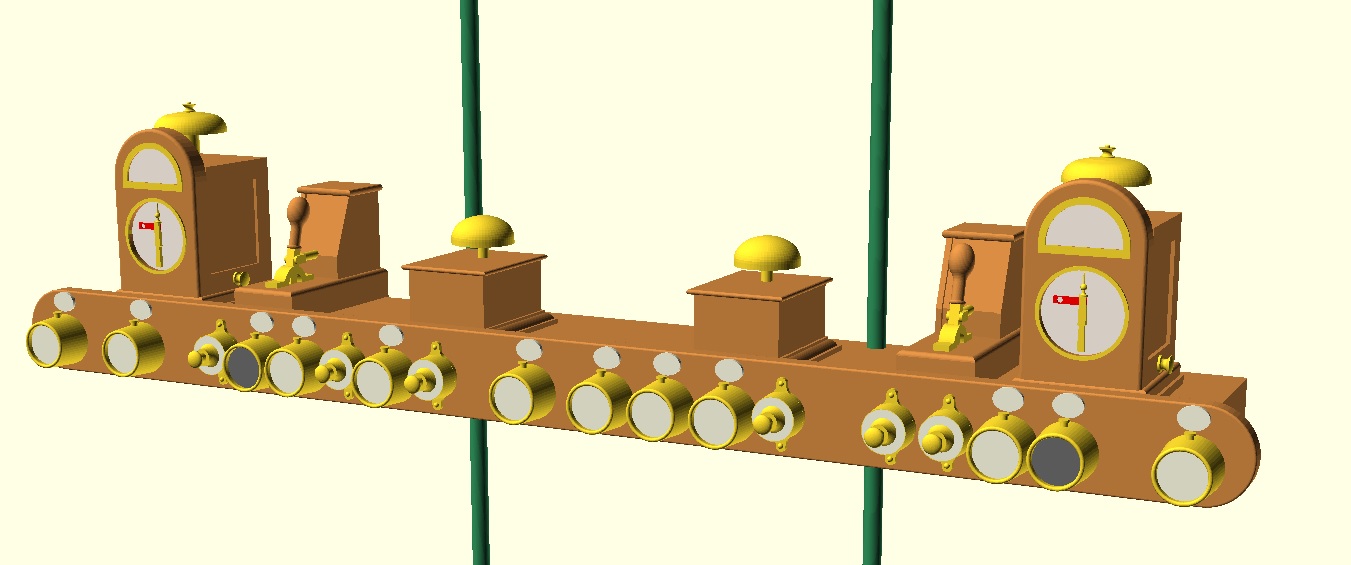
An LSWR/SR style gate wheel with an instrument shelf complete with Preece’s levers and instruments for West Moors (on a double track railway). The 4mm West Moors box and interior have been 3D printed and are in the process of being painted as a display model. A 7mm interior set is also being painted, and Steve may print just the top half of the 7mm box to stage it.
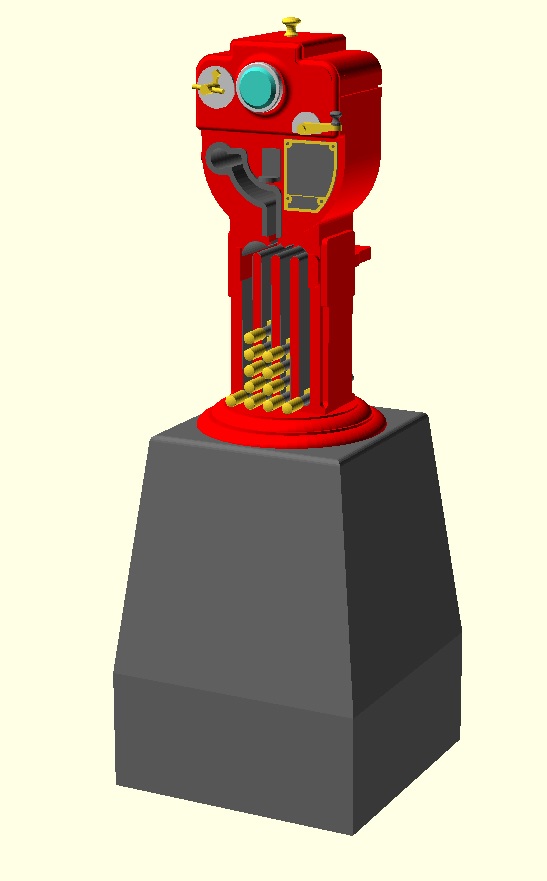
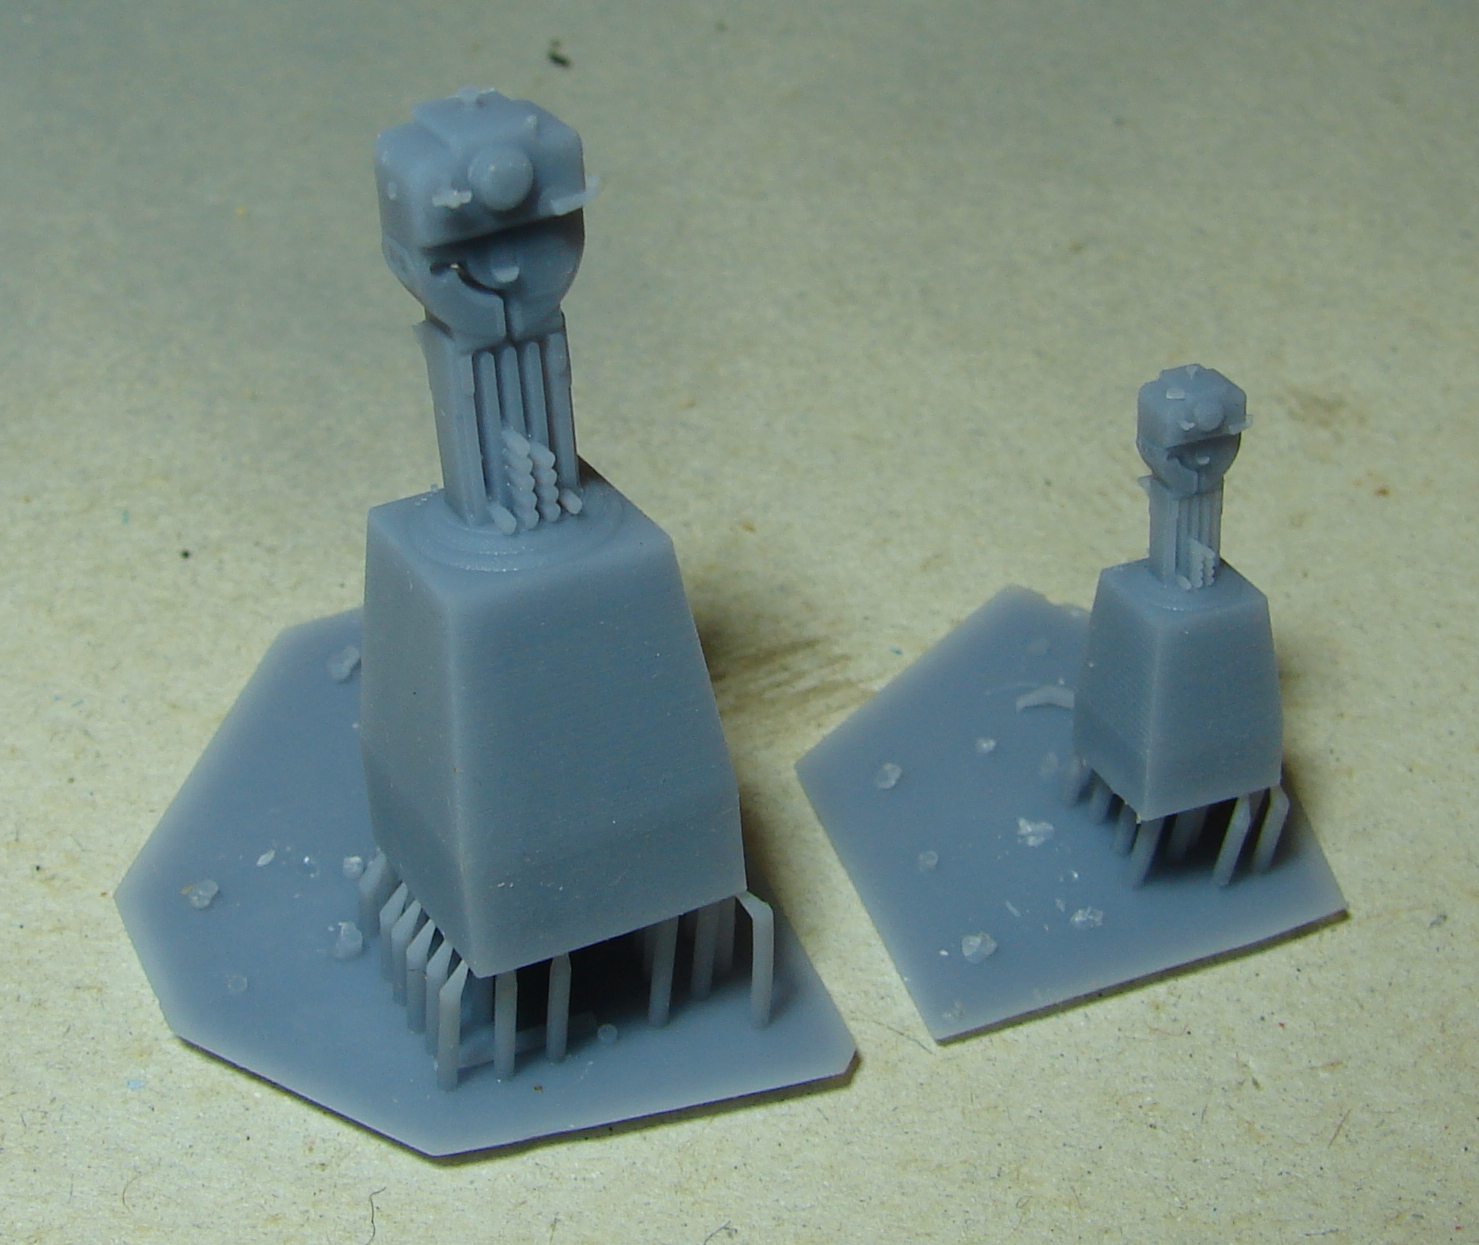
At this point what was missing from the box was the METS long section instrument for West Moors-Fordingbridge. Steve did think he might regret starting this, but it was relatively straightforward, and with extra supports added in OpenSCAD, he even managed to print the far end of the staffs in their slots despite them pointing down. 7mm scale left and 4mm right. For this level of precision – all hail the ‘mighty’ Anycubic Photon Mono 4K – £72 used on Ebay!.
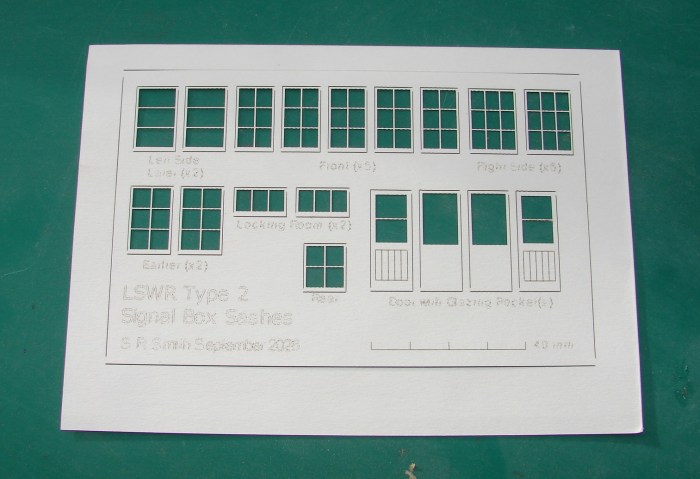
Laser cut windows for the 4mm scale West Moors box cut with his iCube Ultra. The laser bed is only 150mm x 150mm, but the machine is also little more than a 14” all round. This one came with the optional air assist that includes the essential ridged laser bed. The machine is fully contained and is vented via 100mm duct through a 20”stone wall to outside. The ducting can be connected to either laser or spray booth as required.

