Dom has been making progress on both the scenics and fleet at 00 Gauge Coombe Town.
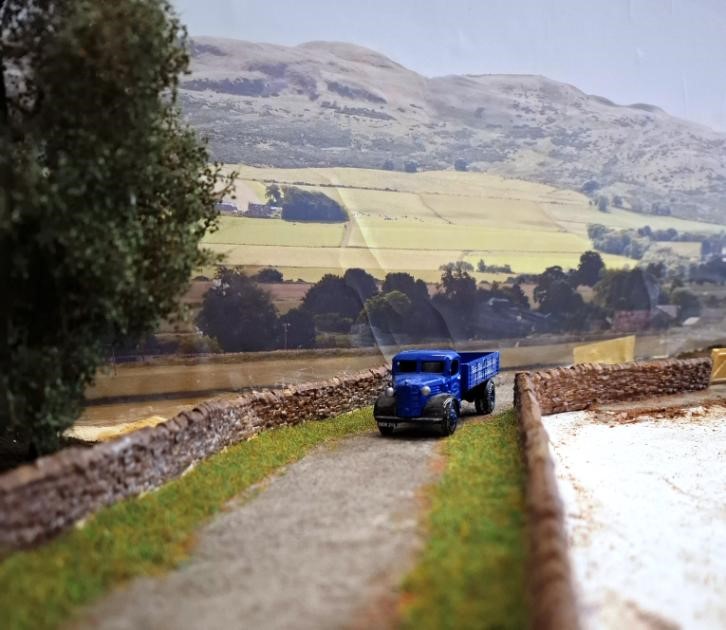
The remaining road surface has been added forming a nice country lane.

The station forecourt and more grass has been added as well as planting on the platform. 3212 has now been fitted with sound and a firebox glow adding a tender locomotive for the goods roster.
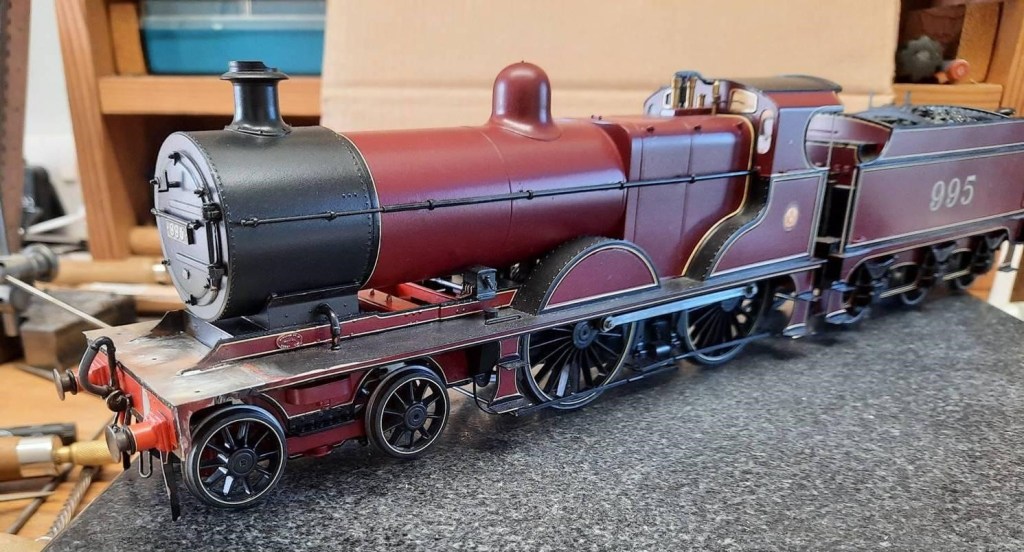
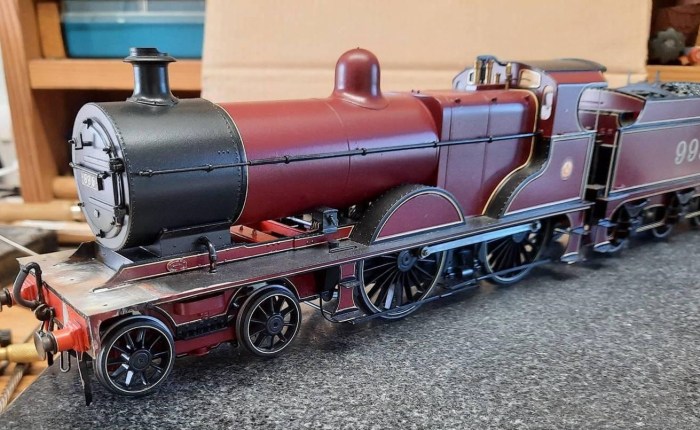
Hinted at in a previous post Dave H’s fabulous scratchbuilt 990 Class (0F Gauge) had indeed had a close (and abrupt) encounter with a floor. He had spent a couple of days with Dave S in North Wales and took his mangled 990 with him, which had been sitting in a “too sad to look at it” box for a year.
Dave S took it out of its box and set about unbending it during an afternoon with the aid of a blowtorch. In the end he had to make and splice in a new piece of footplate, but managed to get the S shaped buffer beam straightened out, and some other nasty dings and bends straightened while Dave H watched. Every now and then Dave S would say “Look away now, Dave” and there would be an almighty thump. Something to do with techniques for restoring vintage cars, I believe! Dave H took heart watching all this and took the big Z bend out of the front frames with some pliers.
Anyway, the photo shows the results. So a big “thank you” to Dave S, who persuaded him that it can be fixed! If there is a silver lining to this cloud, then the necessary repaint could be partly justified because the alleged Halfords etch primer didn’t etch, so the paint is not very fond of the metal. It won’t be ready for Bristol, sadly, but maybe it will run on The Summit another day.
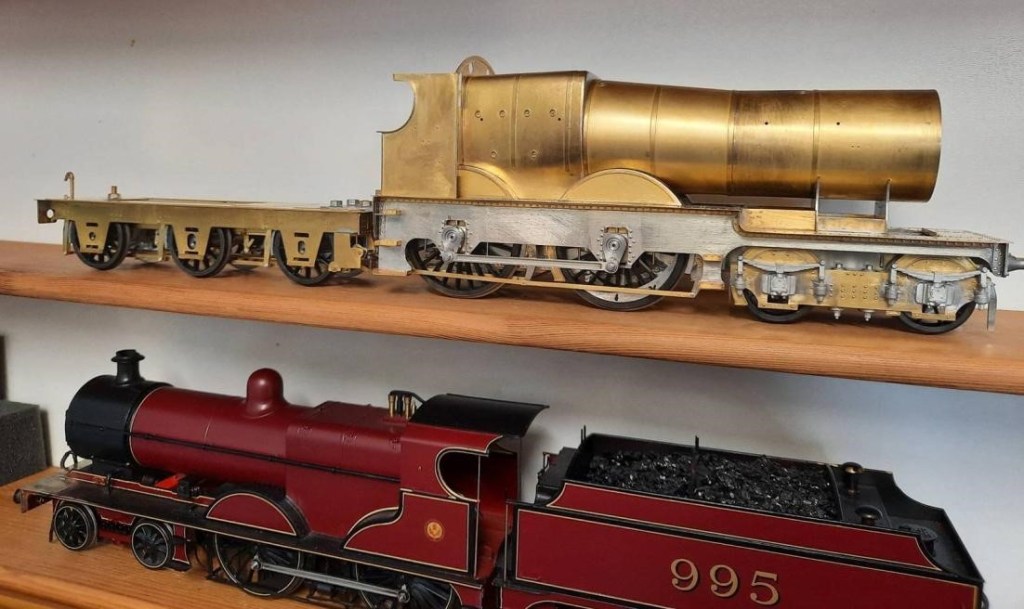
Dave H has also been working on City of Gloucester over the winter – the bones of it are done now, just detailing to do. Fitting the upper works to the footplate was very fiddly but he got there in the end. The ‘City’ is a much smaller looking engine than the 990, although I think the heating surface in that fat Std. 4 boiler might be greater. The ‘City’ didn’t have to get over the Settle and Carlisle, though, just trundle along on Brunel’s billiard table! [Ed] There was a definite lump in the green baize between Tiverton Junction and Exeter, even if these engines never made it as far as the infamous Devon banks!
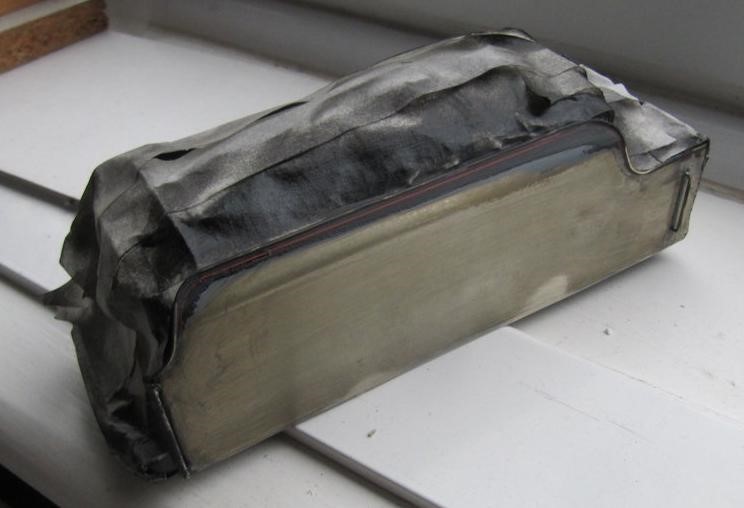
Dave S (master of the hammer) was asked if he might be interested in fixing a Black 5 tender with a split corner. Unfortunately Dave did not take an initial picture of the tender. It was an old model and it was built not to be taken apart. The tender rattled when shook but there was no way to get to the inside. The first job was to remove the tender body from the chassis. A thin fine toothed back saw helped in that process. The first three pictures show the contents of the tender body. I’m not sure what the white mineral was but there was a lot of white bath sealant in there too.
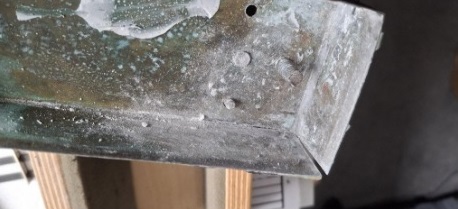
After cleaning up, we arrive at the re-soldered joint and the split in the hopper before.

The next problem was how to attach the tender body back onto the chassis. Two hollow square section brass stretcher bars were soldered across the tender body base.
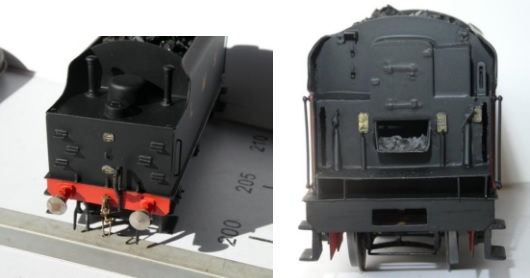
The heat from the soldering process burnt the paint on the outside of the body. As some of the original varnish had already come off, a repaint was in order. Transfers for the letters L, M and S along with some thin red lines for the edges of the tender body were ordered from Fox Transfers. These pictures show me measuring the positions of L, M and S to ensure they went back in the same position as received. [Ed] Looking at that ruler this model must be in 7mm Scale 0 Gauge (for those wondering).
The tender body ready for painting. Dave needed to mask some small etched plates on the tender body so that they did not get painted. He used Phoenix Precision PQ7 Superacrylic Masking Fluid. He’s sorry that he did as he found it to be awful stuff to remove – never using that again. Sue then gave him some Pebeo Drawing Gum that she used. This he found to be totally acceptable on further masking he had to do. [Ed – This is exactly how marriage should work!] The body was given a coat of light grey primer followed by a few coats of gloss black (as recommended by Fox transfers). Once dry, the transfers were applied and then given a few coats of matt varnish – part of the owner’s request.
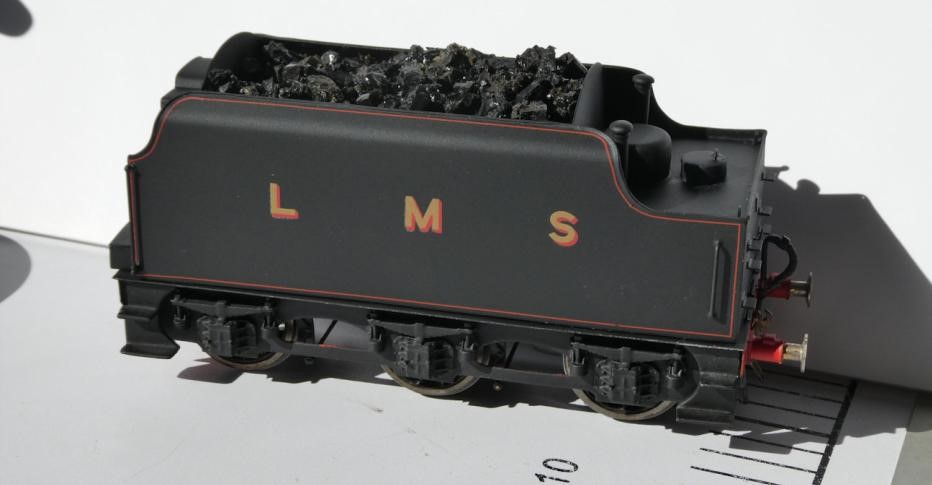
The last pictures show the finished item looking good again. It has been returned to the owner who is delighted with the repair.
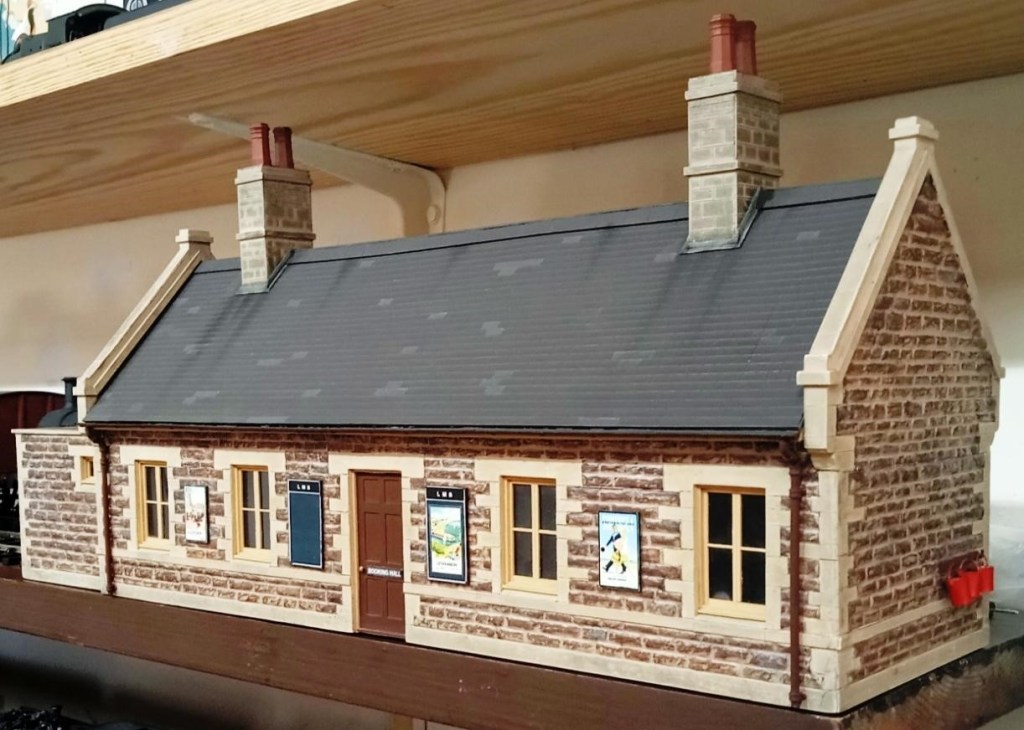
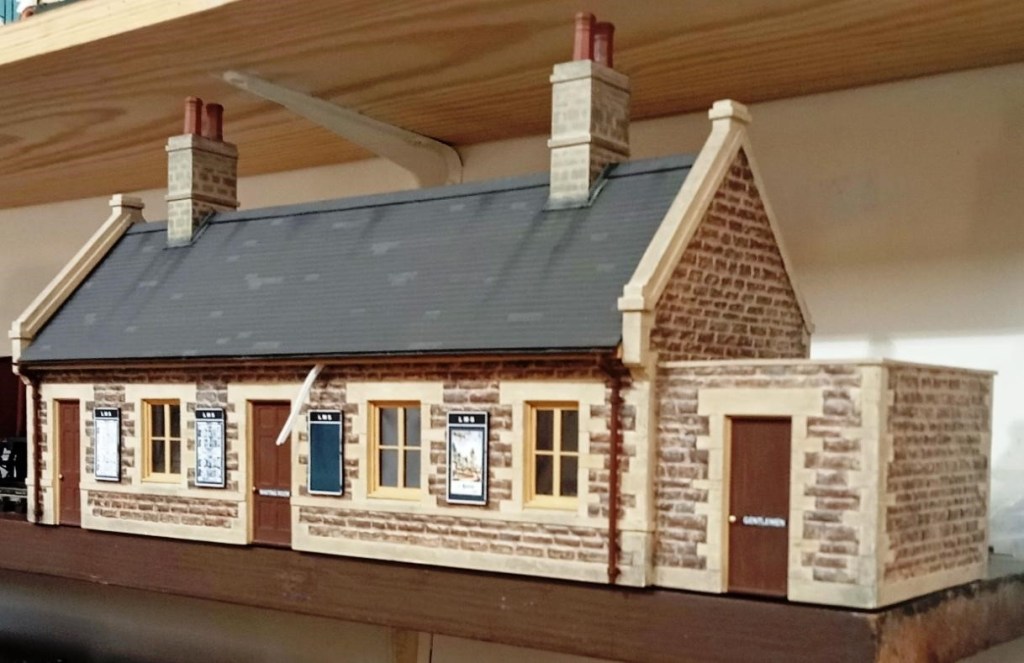
Allan’s superb completed model of Cole station in 7mm Scale. The wires sticking out are for a light fitting. Allan thinks that perhaps the roof could do with a little more weathering. Purists [Ed. That would be me!] are going to dispute the LMS colours but, as with the signal box, he would find it difficult watching his LMS trains passing through the station painted in SR colours!
