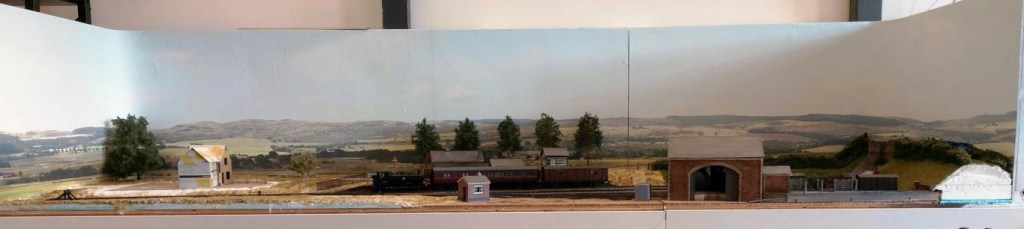
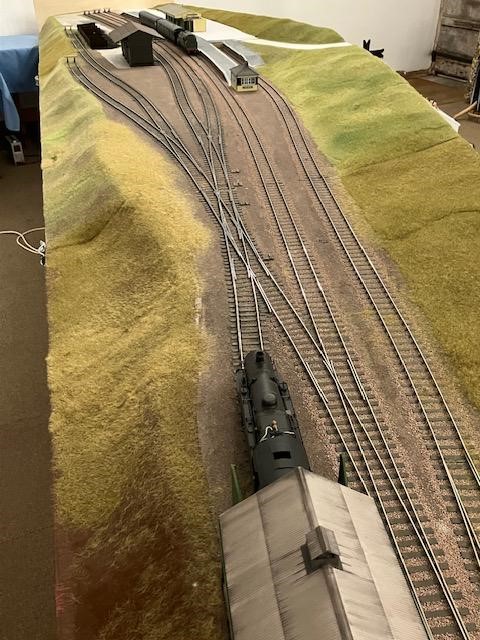
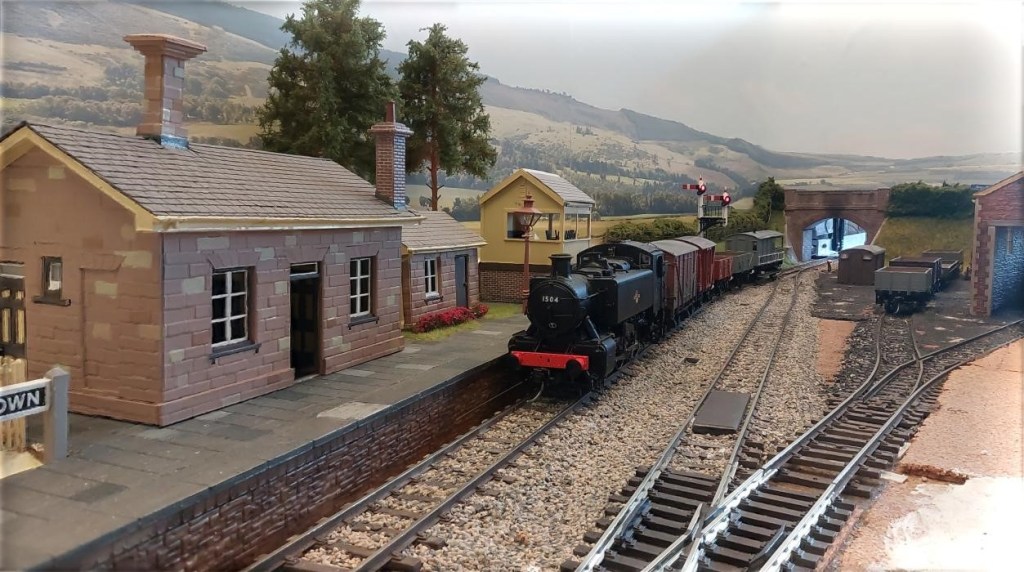
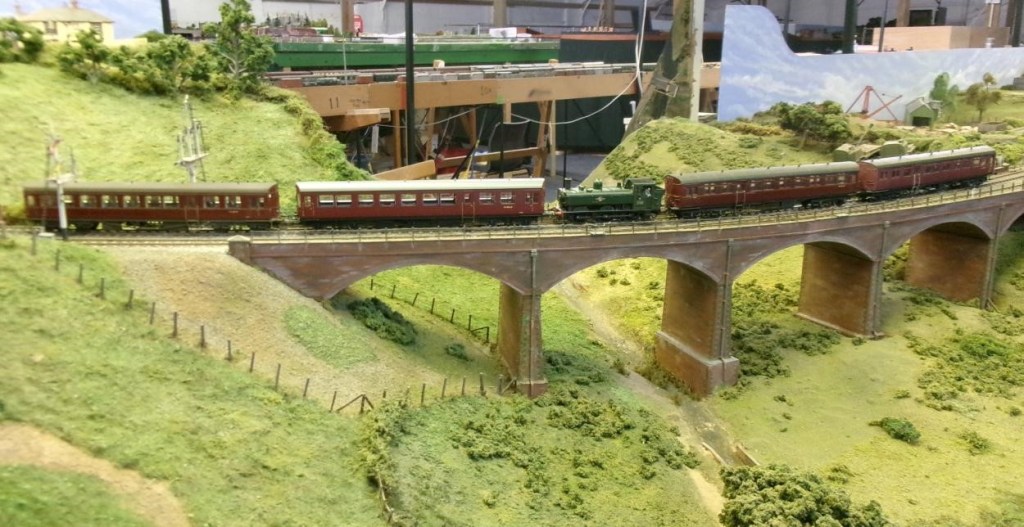
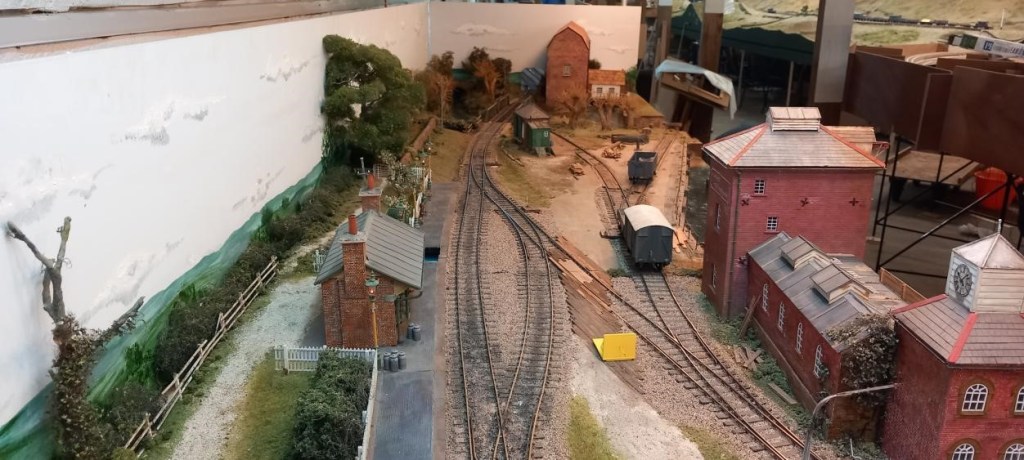
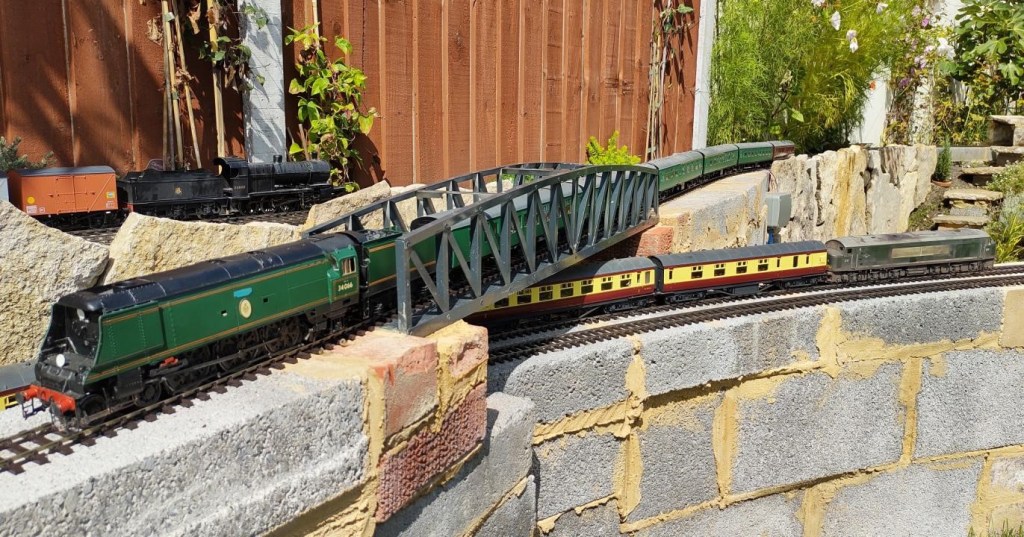
August saw another excellent Railwells show. This year YMRG was represented by Susan’s S4 layout Buntingham.
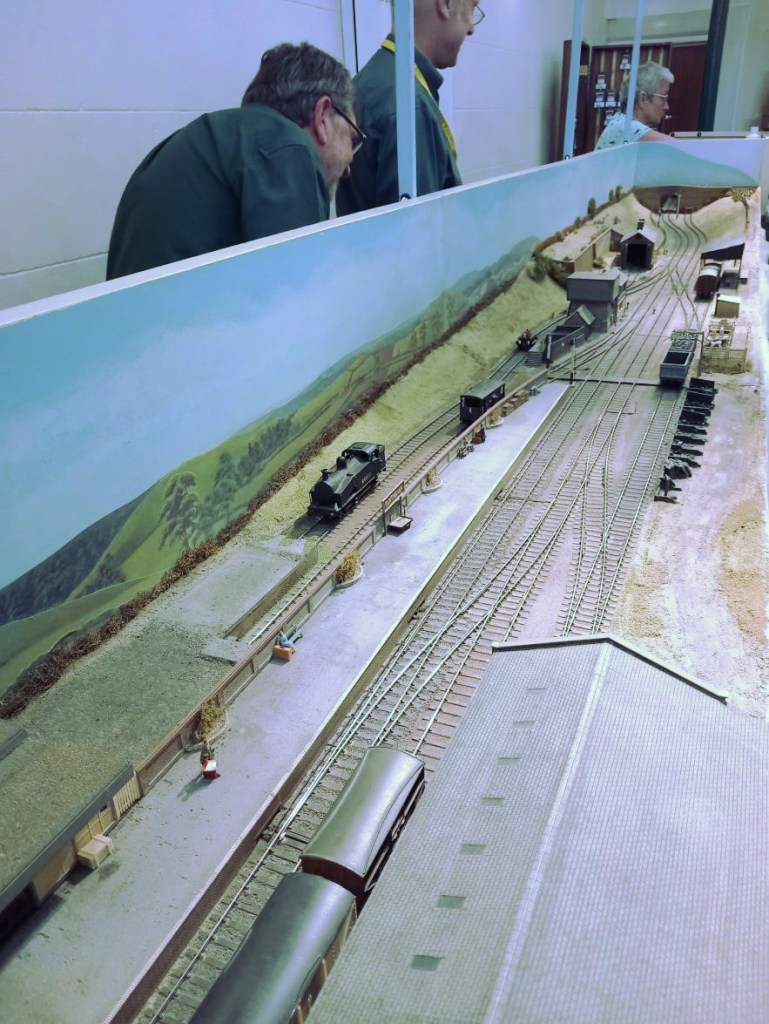
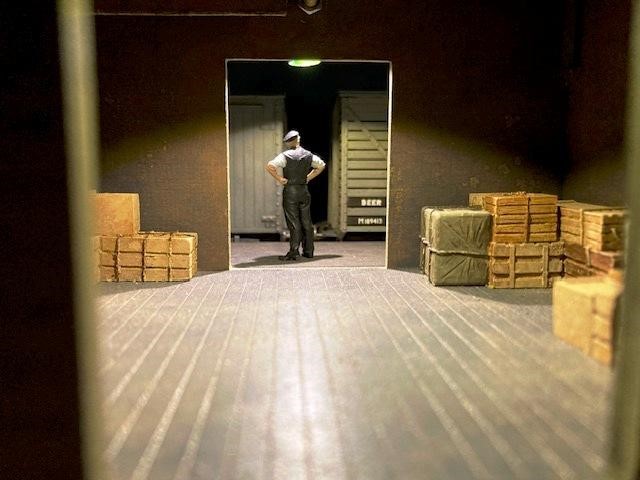
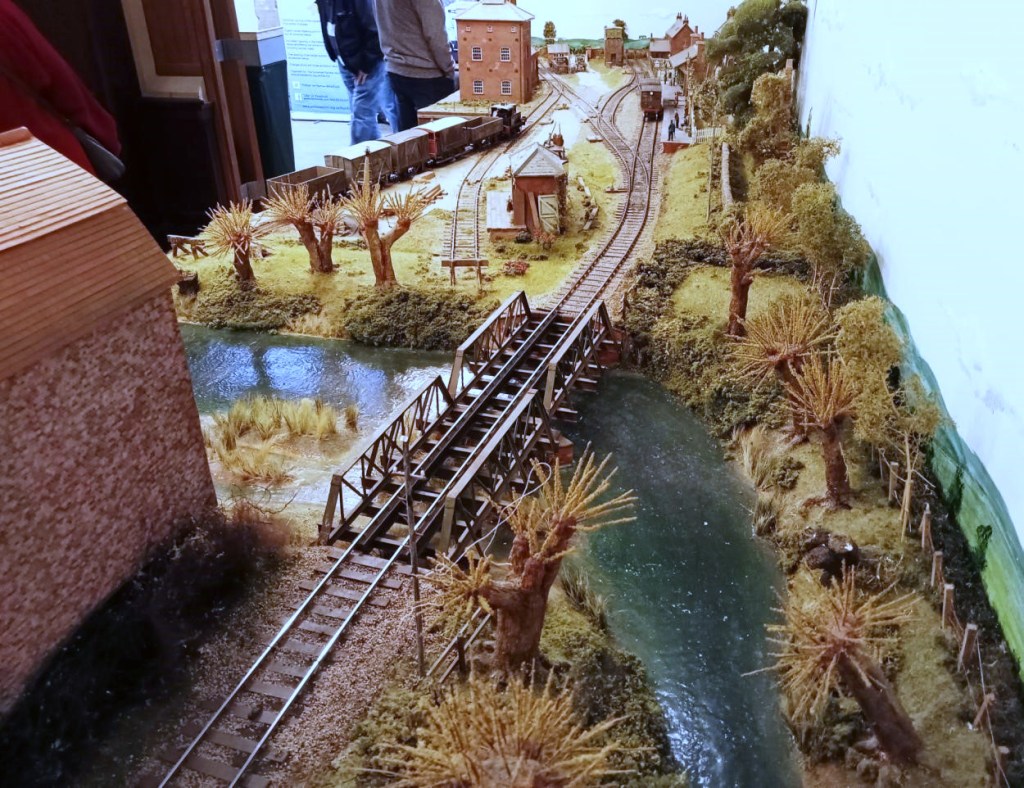
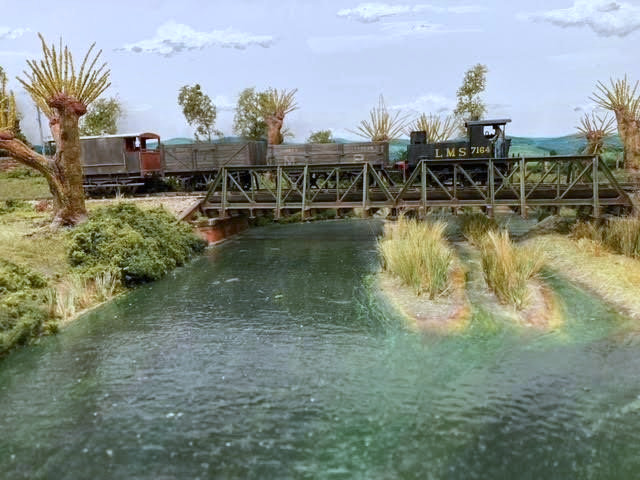
Based very loosely on Buntingford in Hertfordshire, it was built in the 1970s by Susan’s father Ray Hammond, a founder member of both the P4 and Scalefour Societies. In this photo Susan can be seen doing something very important in the fiddleyard, whilst fellow operators Dave H (nearest) and Steve both in YMRG shirts are wondering which knob to turn, or lever to pull or push next. Two very enjoyable days, and the layout was well received.

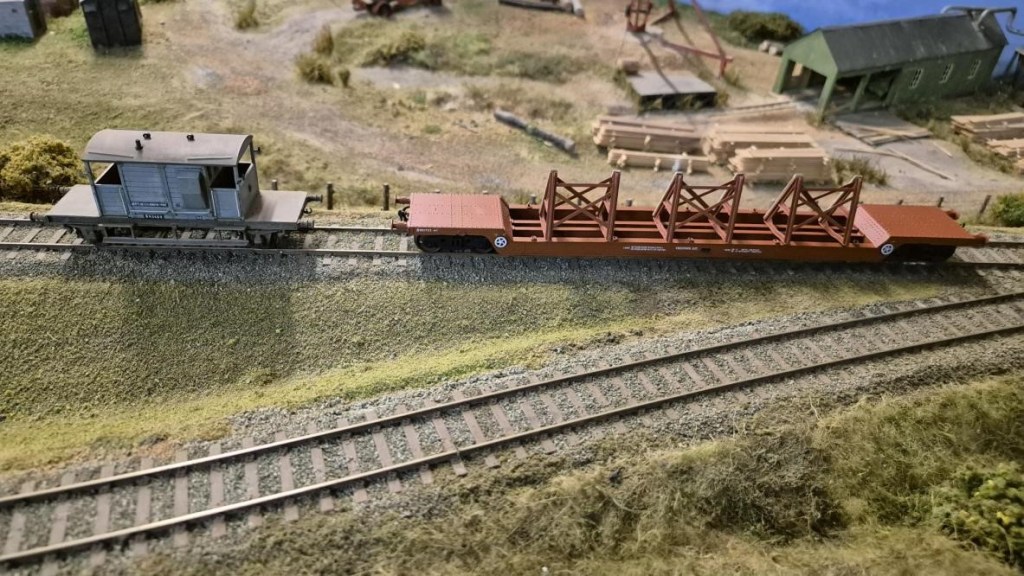
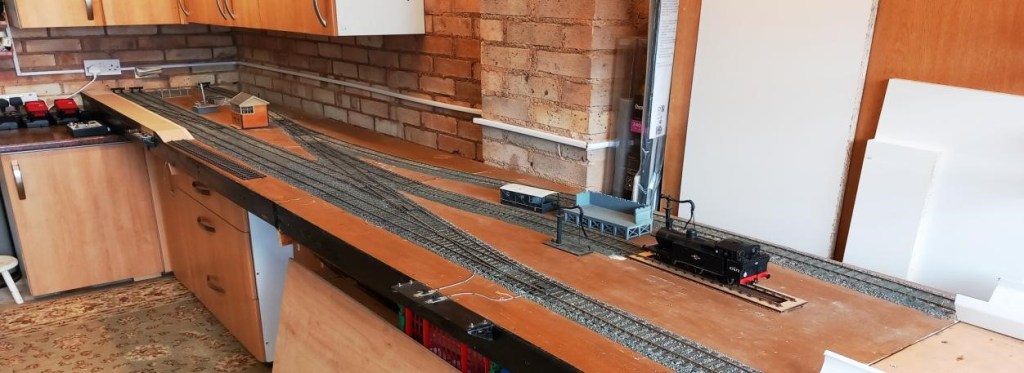
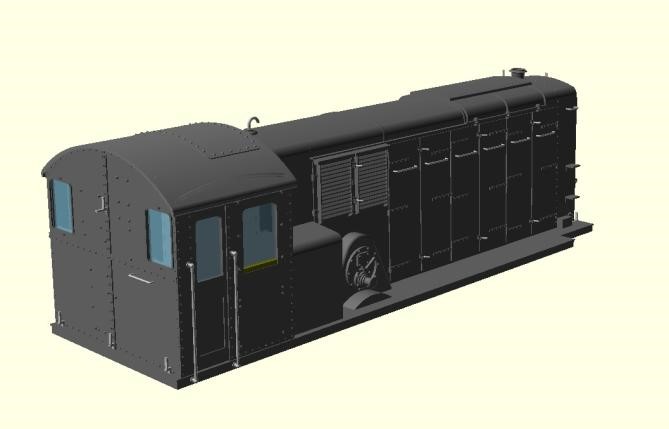
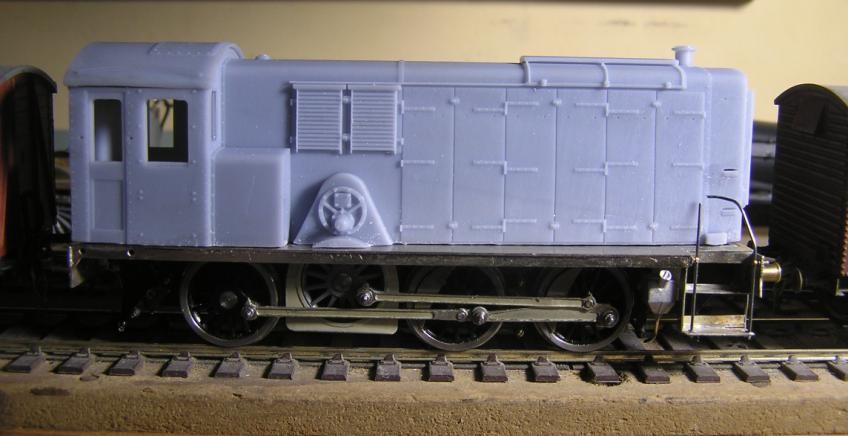
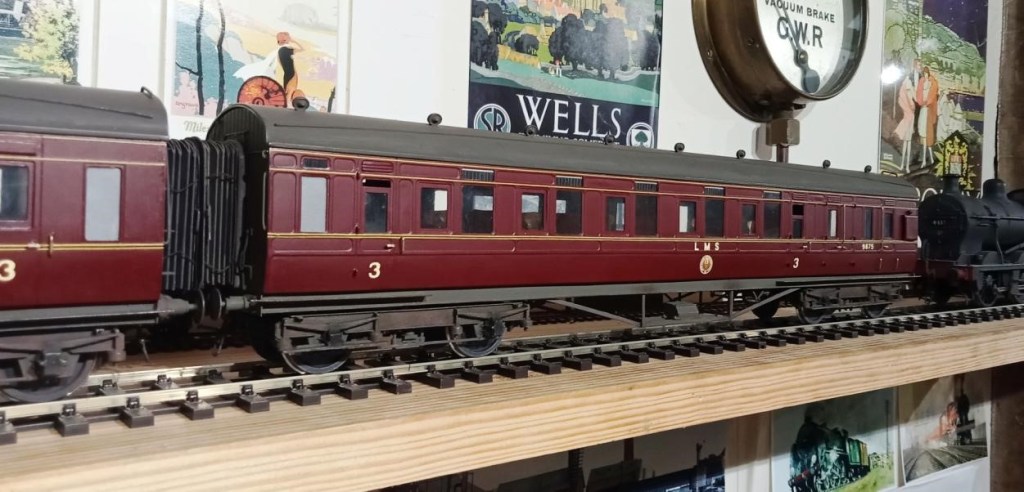
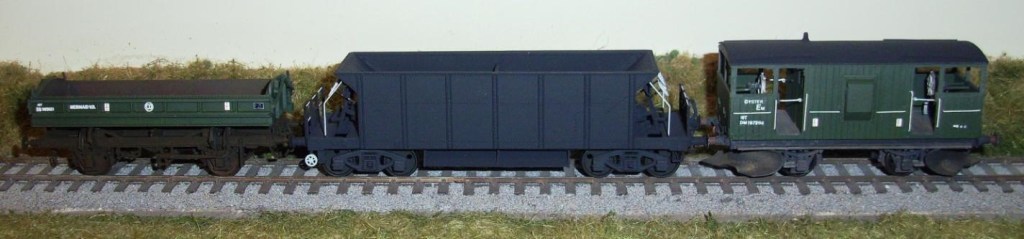
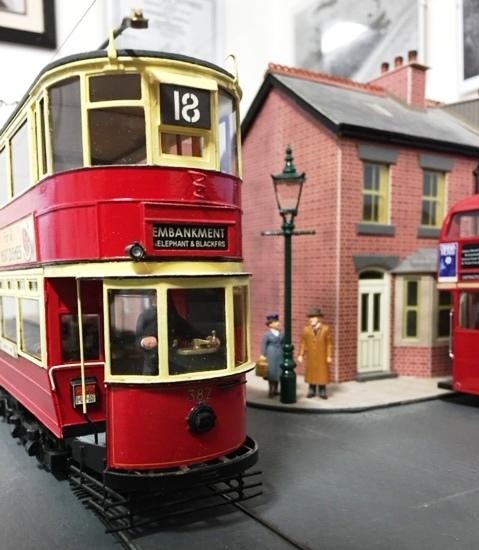
Regular readers may recall a recent feature on a 3D printed obscure ex-LMS Armstrong Whitworth diesel loco which Steve designed and constructed in EM. This is the mk2 3D print (and nearly finished product with the flush glazing sticking out of most of the glazing pockets) plonked on the track at Buntingham. Looking at that bend in the bonnet highlights how 3D printed resin whilst brittle is also oddly flexible when you’d really rather it wasn’t!
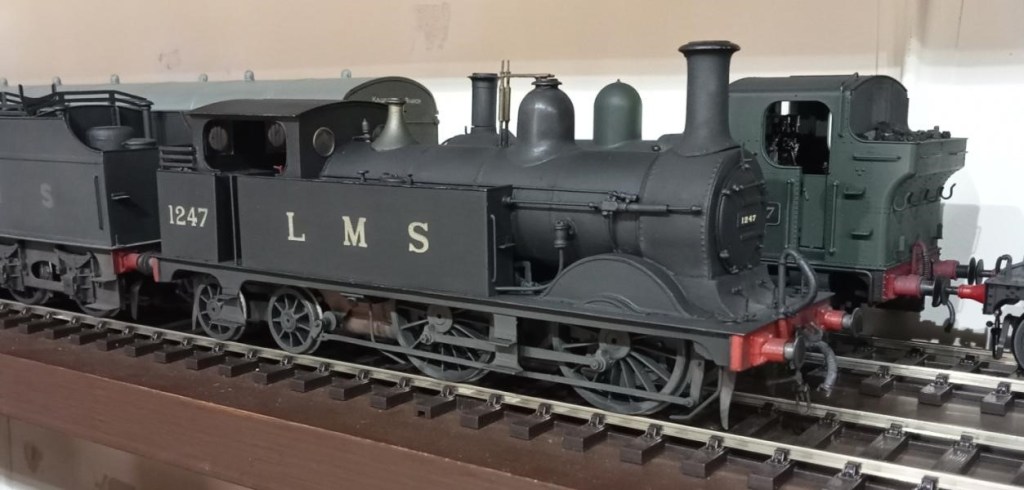

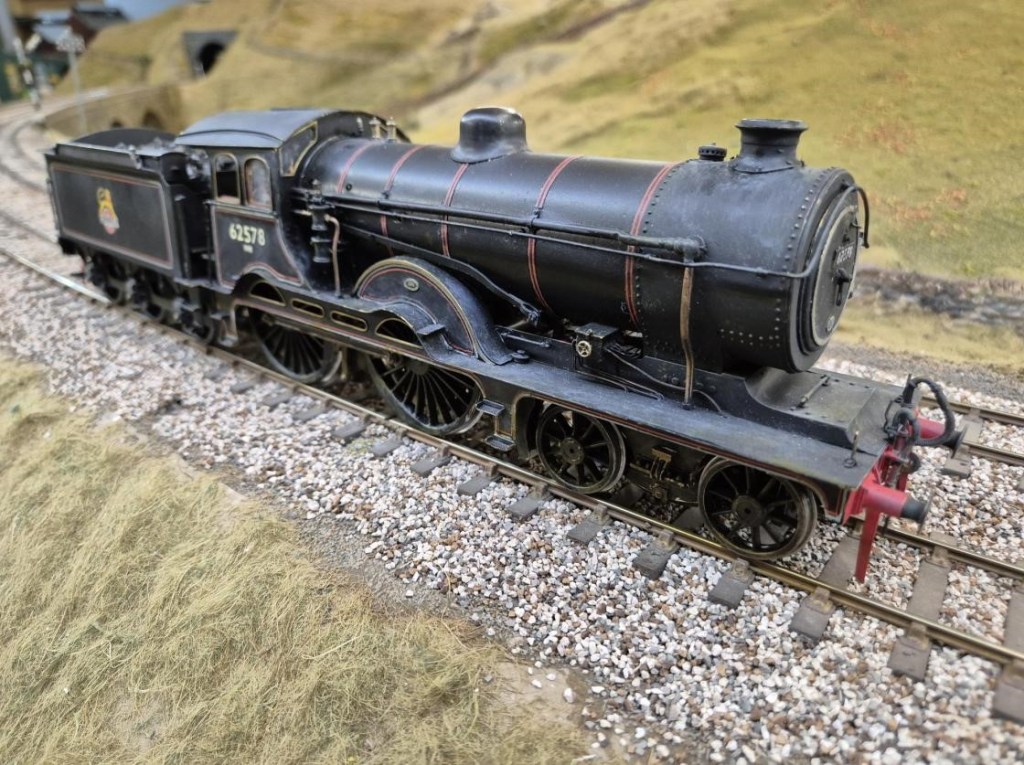
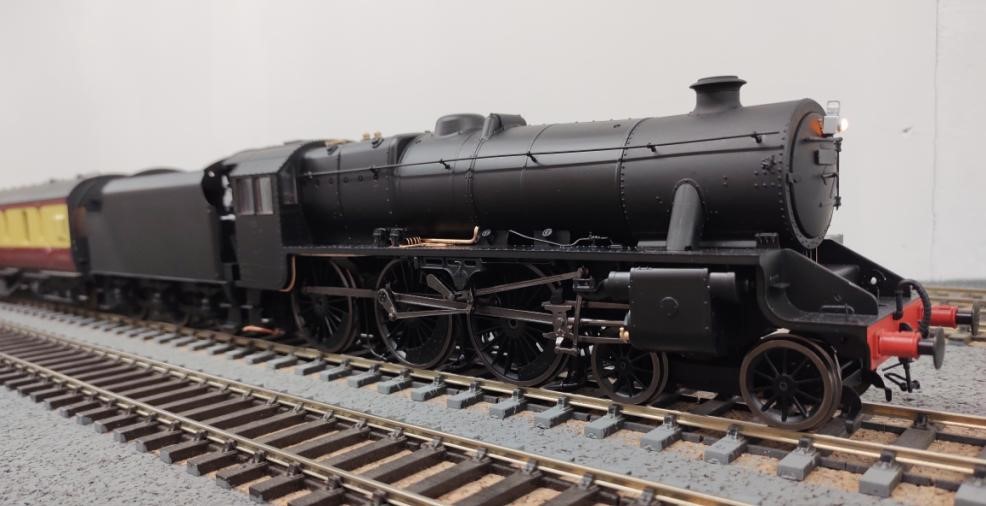
Allan has finished constructing his LMS Johnson 1P 0-4-4T from a Slaters’ kit – and excellent it looks too:
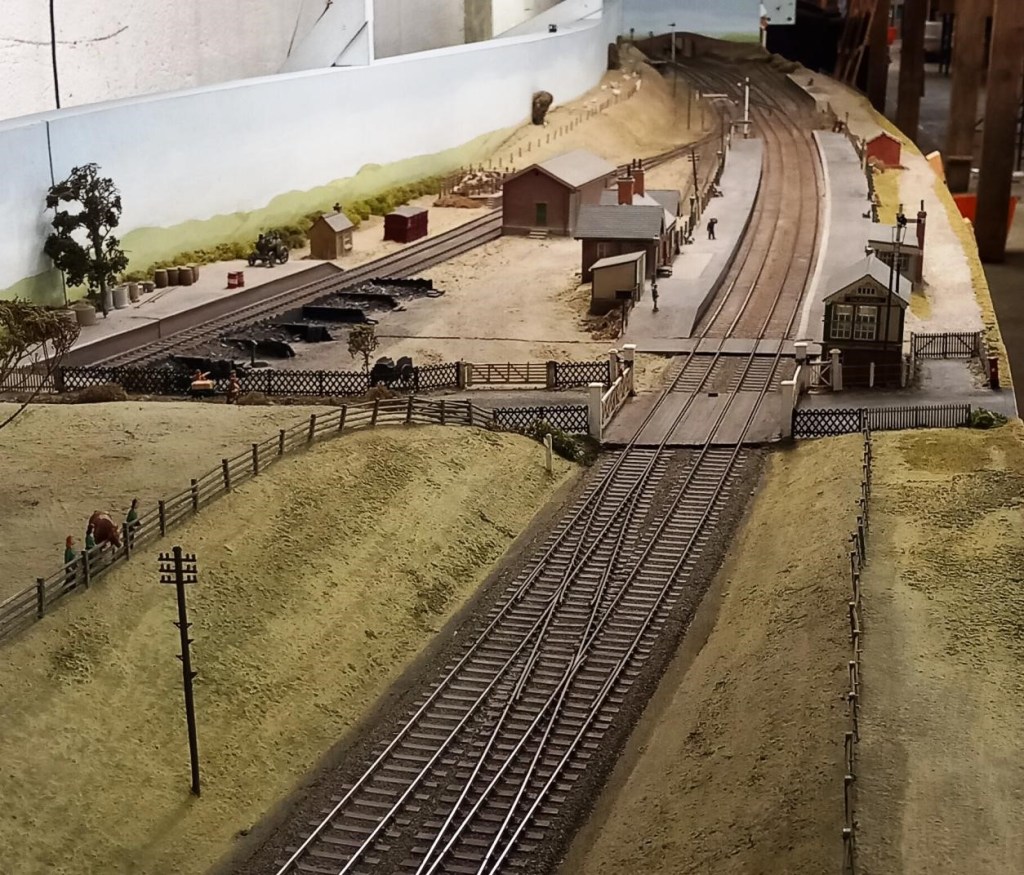
Our former Chairman Dave S has been wiring the control panel for The Bank (TB), the club’s N gauge layout based on Hemerdon Bank in South Devon. These are nearly finished and he will be bringing them down to CS2 soon.

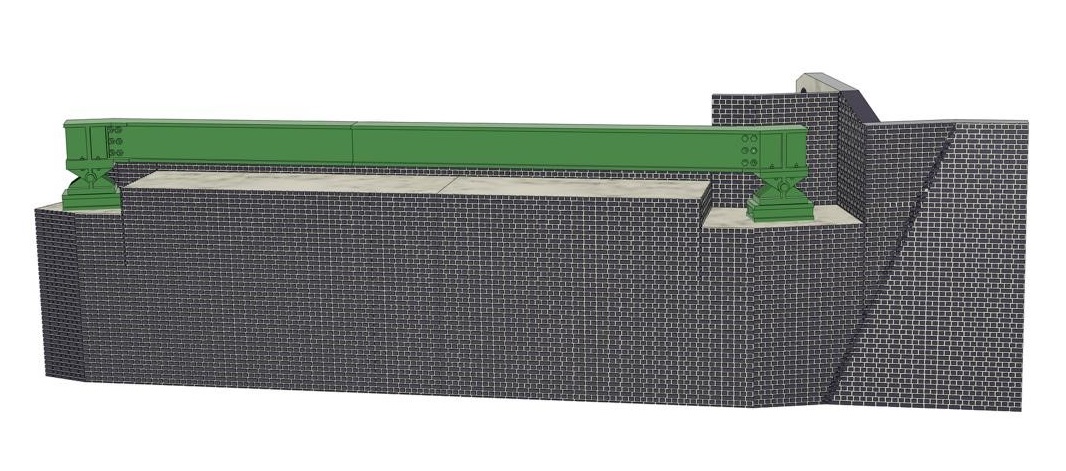
The power supply for TB. It provides power for the controllers, the LEDs, the relays and the point motors. It has a couple of spare outputs, 12v DC and 16v AC.

The bare panel top prior to the addition of switches etc.

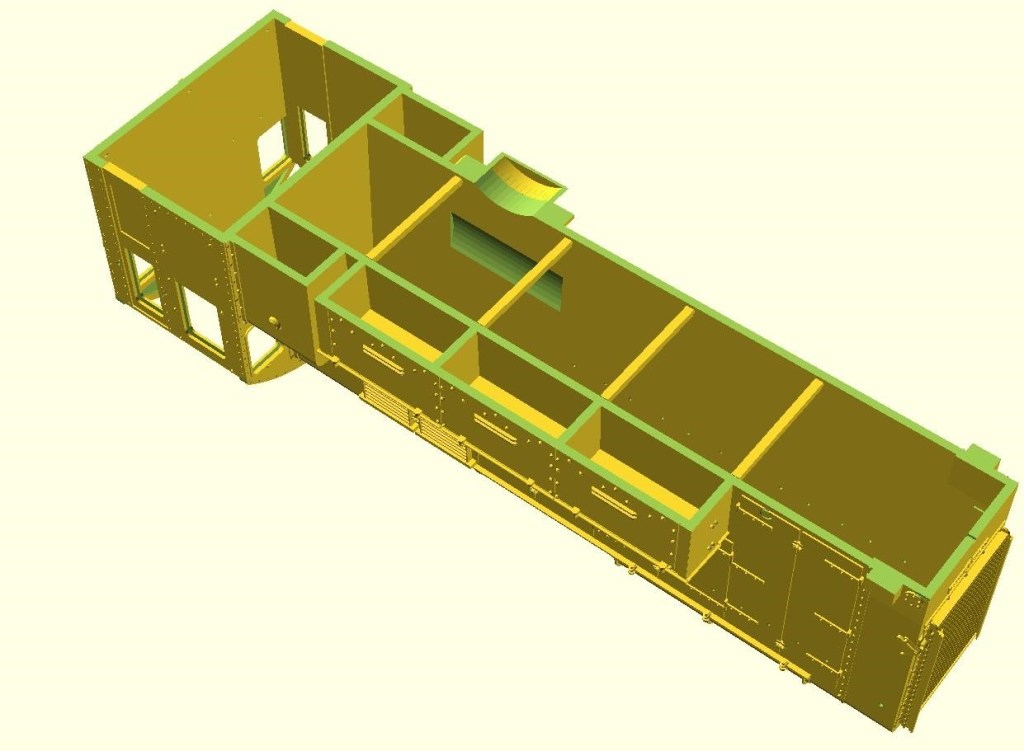
The underneath of the bare panel. Note that all the push button and LED positions are marked for ease of finding them for wiring.
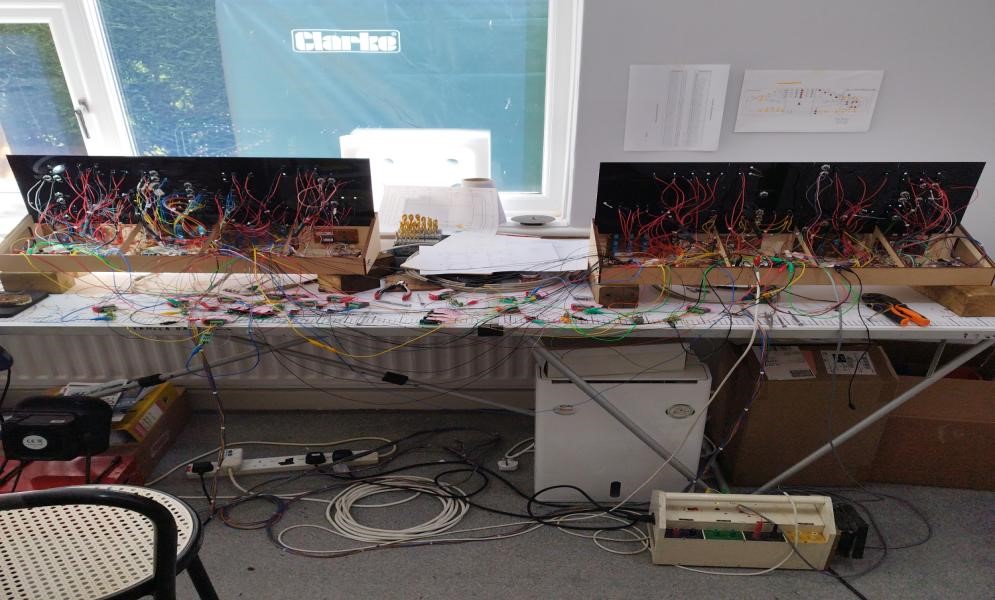
The finished panels in testing mode with a rats nest of wires connecting the panels to point motors etc to simulate the layout.
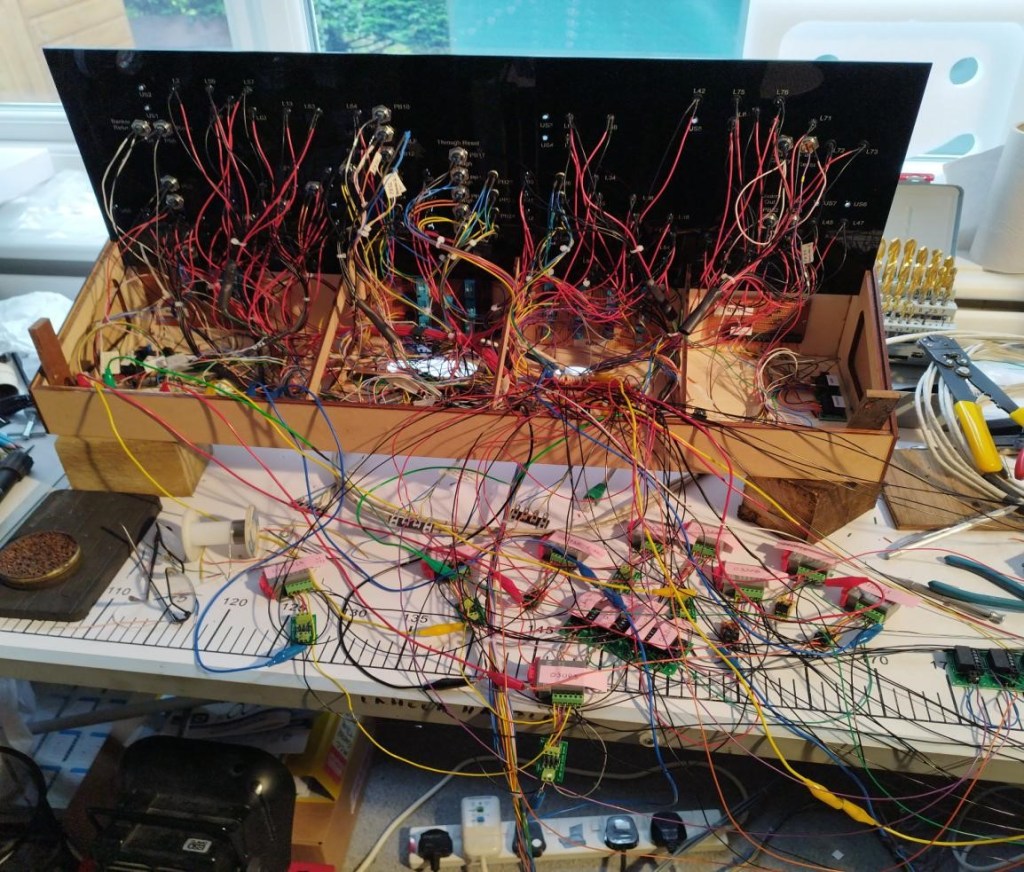
A closer picture of the Up panel. Note the MP1 point motors in the foreground.
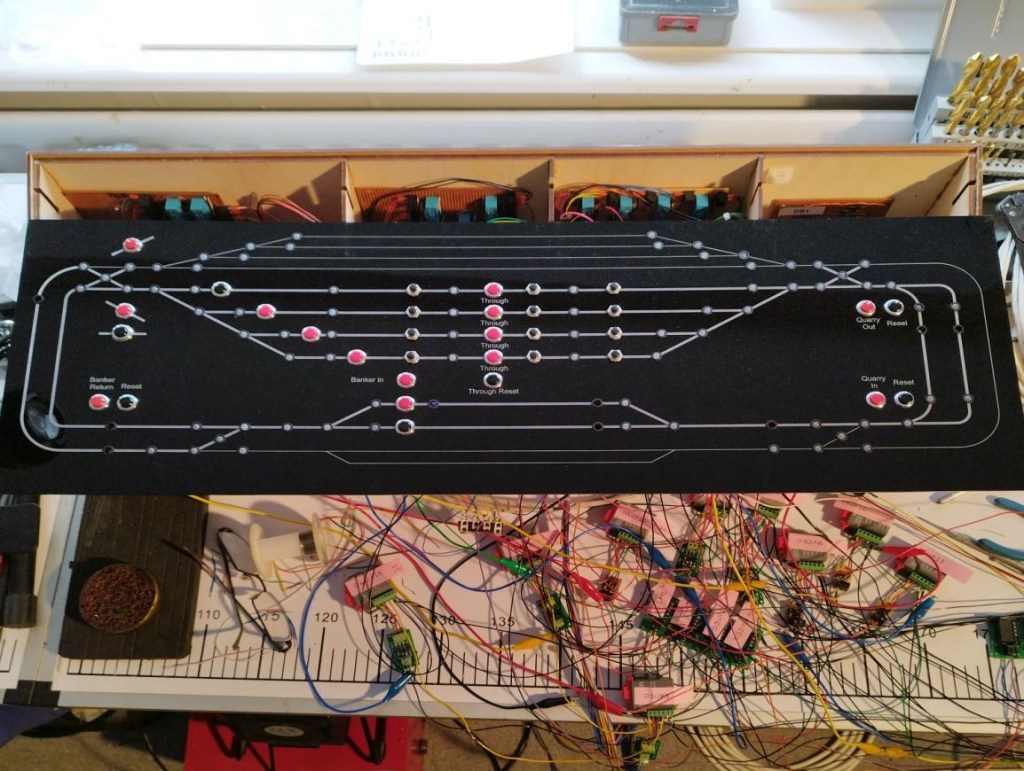
The finished top of the Up panel. It will fit the box underneath when installed on TB.

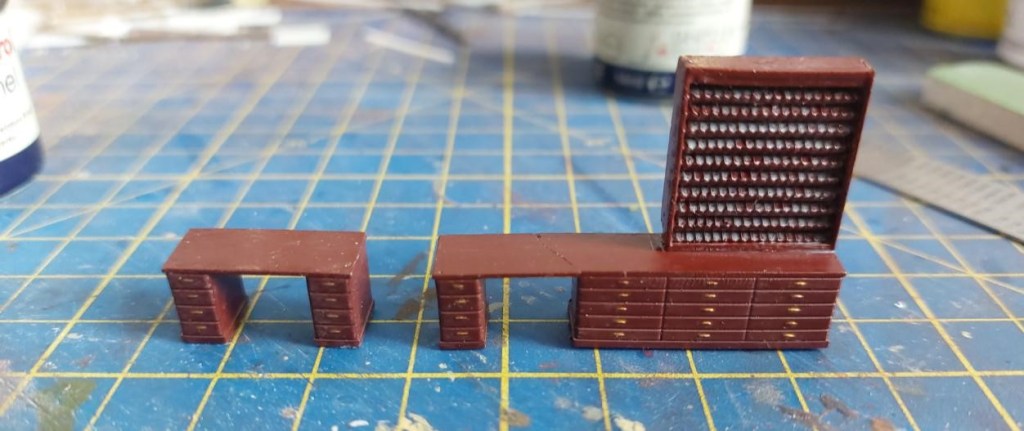
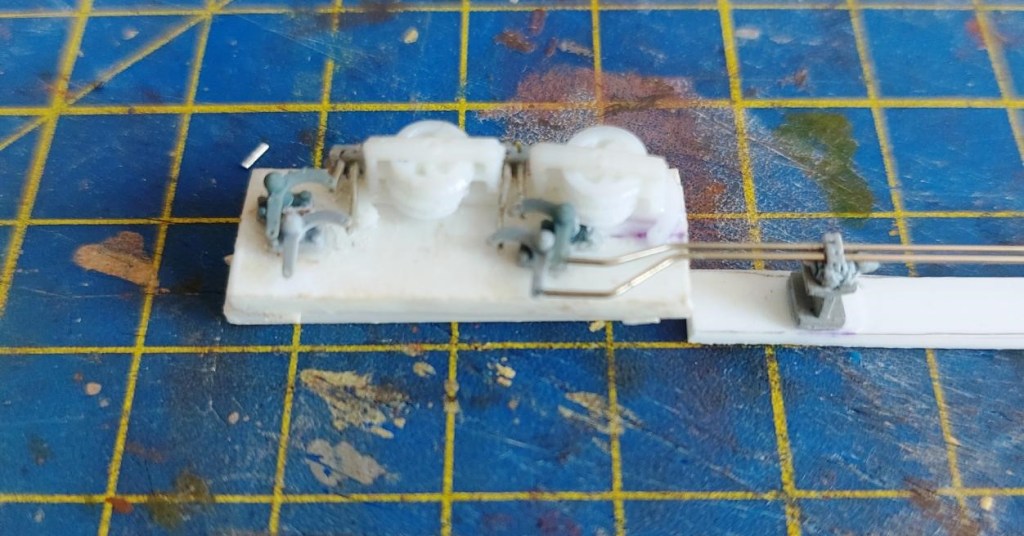
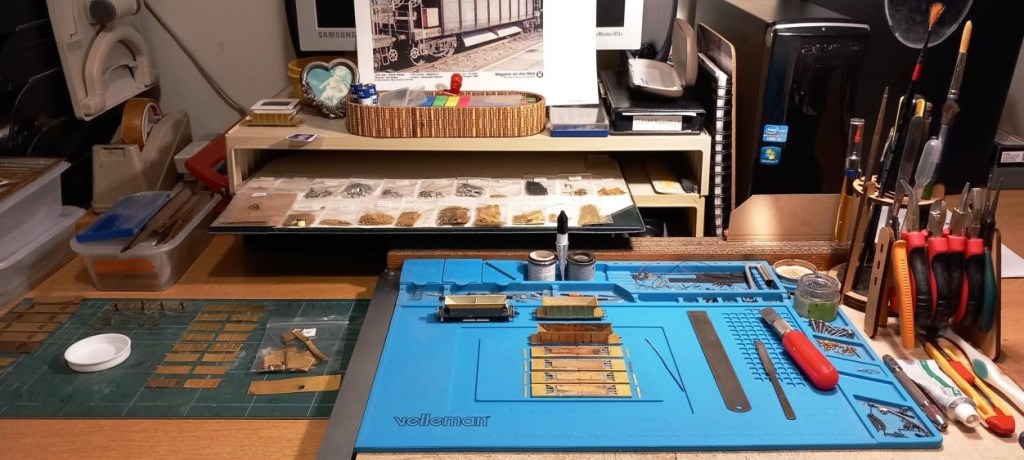
Steve will be building his K’s Falcon Class as Vesuvius Class engine 294 – the train engine for the Downton Crash Train. One problem with the K’s kit (the relevant bits of someone else’s complete kit shown above), is that the rudimentary chassis is about 1.5mm too far forward in the whitemetal body, cunningly disguised by making the front about 1.5mm too long. The rear splasher is the correct length, but the coupling rod splasher moulded into it is 1.5mm too far forward, so needs a cut and shut to move it. It took ages to spot this error as the coupled wheel base is also correct, and it wasn’t until it was realised that the sandbox covered far too much of the inner front springs that the error was finally spottted. The aim here is that everything will end up in roughly the right place, as that’s more likely to look right. The changes to the splasher unit don’t stop there, as the front driving wheel splashers on 294 weren’t pierced, didn’t have any sort of trim round them and the coupling rod splasher swept down to the running plate without that step. Between the splashers where the Falcon had an exposed donkey pump, the Vesuvius Class had one that was all boxed in to match the rear splasher.
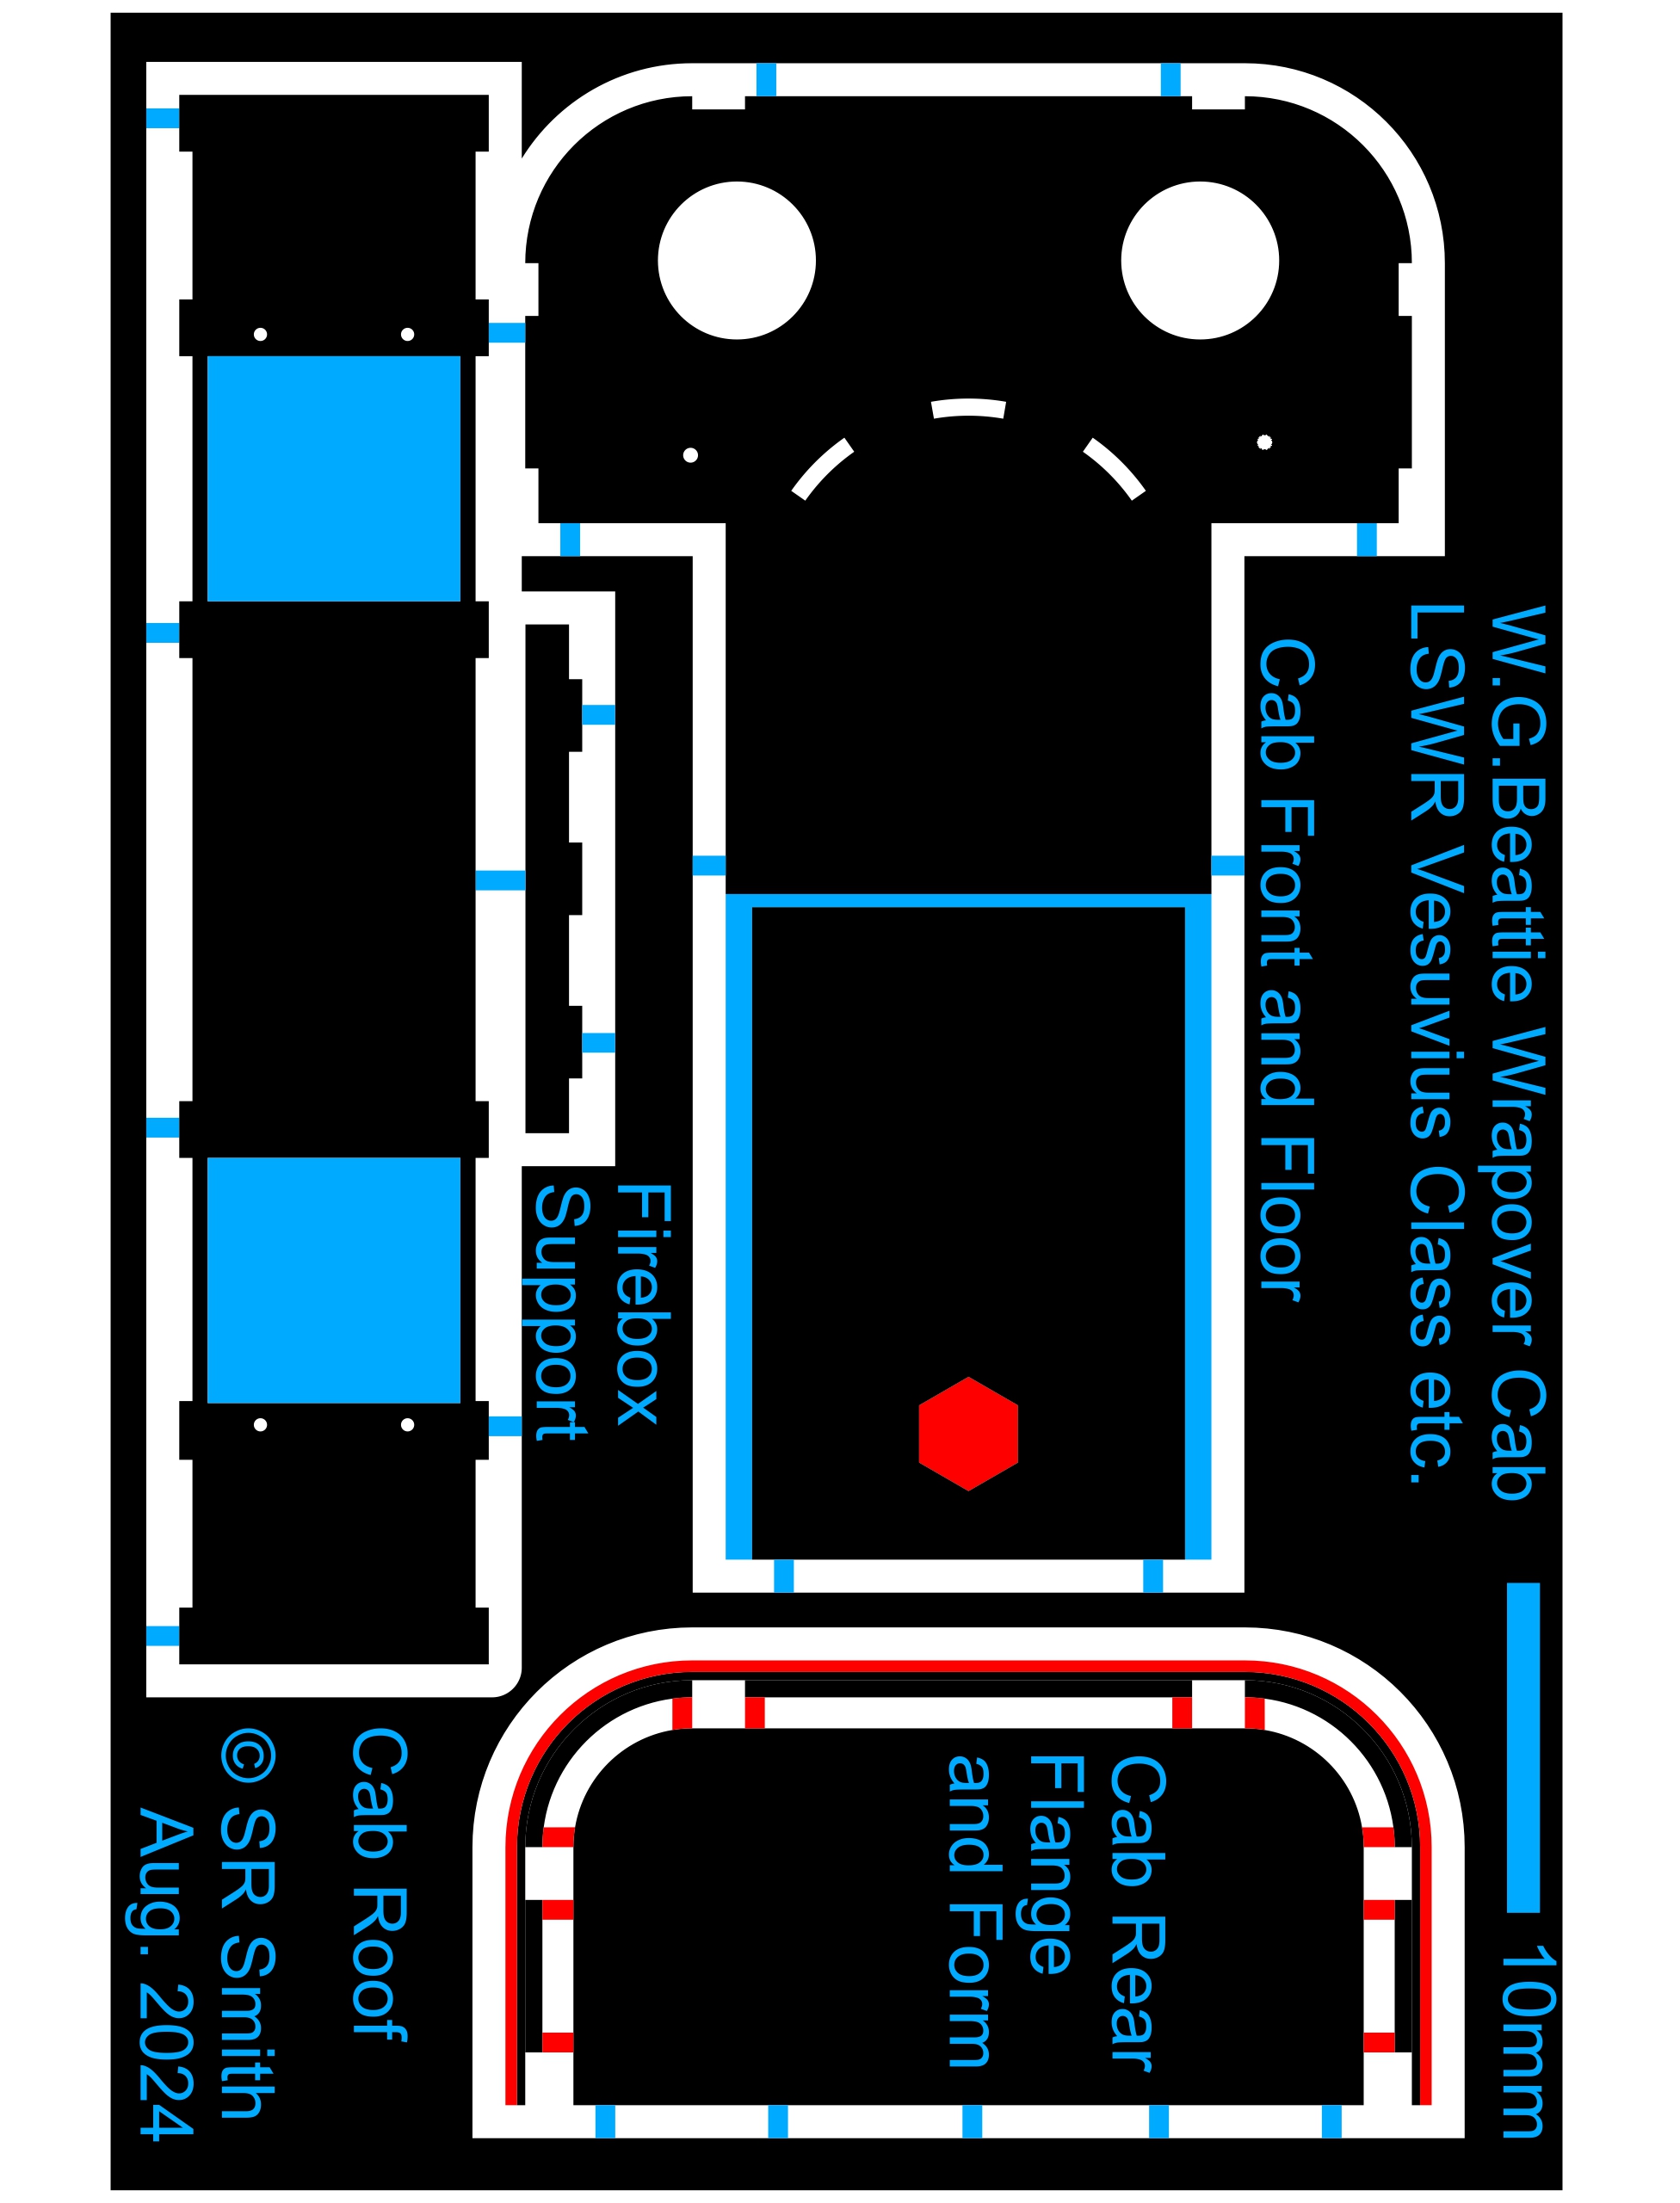
Below is the home made artwork for all the etched parts that Steve thinks is needed to make a Vesuvius Class body from a Falcon Class kit. All done in QCAD, it was a steep learning curve to work out a method to allow for cusp, and put in moats and tabs in a way that was fully reworkable. Black is no etch, blue is half etch from front, red is half etch from rear, The phototool is a one off, up-front cost, enabling about five copies, It was thought that a modular approach was the way to go, but with the minimum order being a 290mm x 135mm sheet, these two plus the three larger etches to build the engine and tender chassis, almost fill a sheet to make one big etch. This means that any revisions from the test build will require a completely new phototool.

294 had the flat top Stirling style cab, and being EM Steve can spread the rear splashers a bit so has provided a wider etched floor. The rear driven axle is very close to the cast floor, and to provide clearance for the twin compensation beams he will narrow the K’s casting under the cab. The etched floor with soldered nut provides a better fixing and permits this approach.
The boiler was raised about 3″ compared with a Falcon, so a more accurate smokebox front with a sort of saddle to lift the smokebox and better simulate the exposed front frames seemed the way to go. On the prototype the buffers are bolted to the frames and the toggled extensions on the cosmetic frames will accept the K’s buffer beam as part of the body – this is much more convenient for a model. The new front allows the smokebox to be shortened (no visible rivets on the smokebox sides), and this also allows the other ways in which the front was too long to be addressed.