October saw three meetings a week allowing three groups of up to six people to work on the different layouts. As we are back into lockdown our meetings have been suspended for November. More opportunities for railway modelling at home!
This is the first stage of Dave H’s ‘Winter Shelf Queens’ project, which is to finish all the unfinished carriage projects he has lying around.
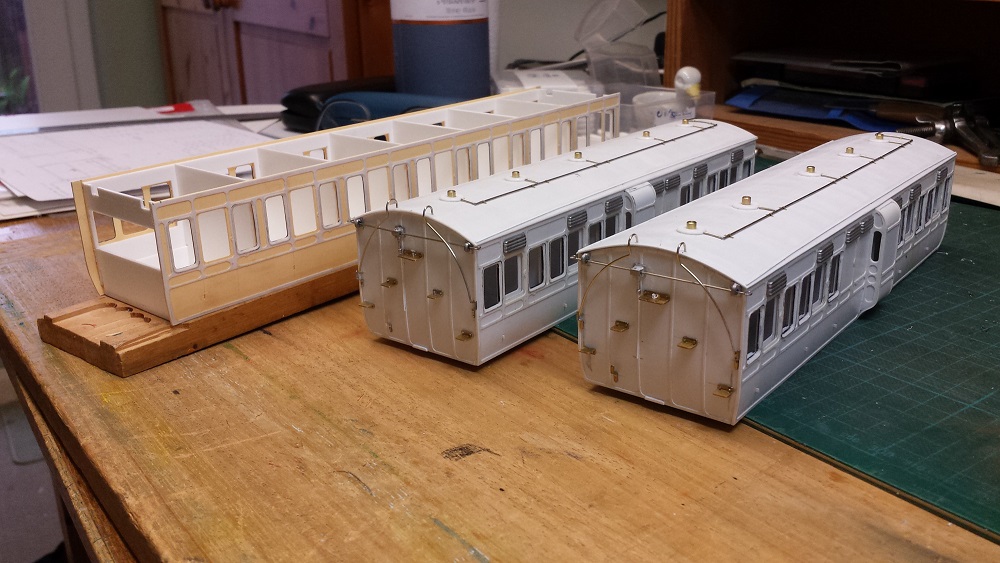
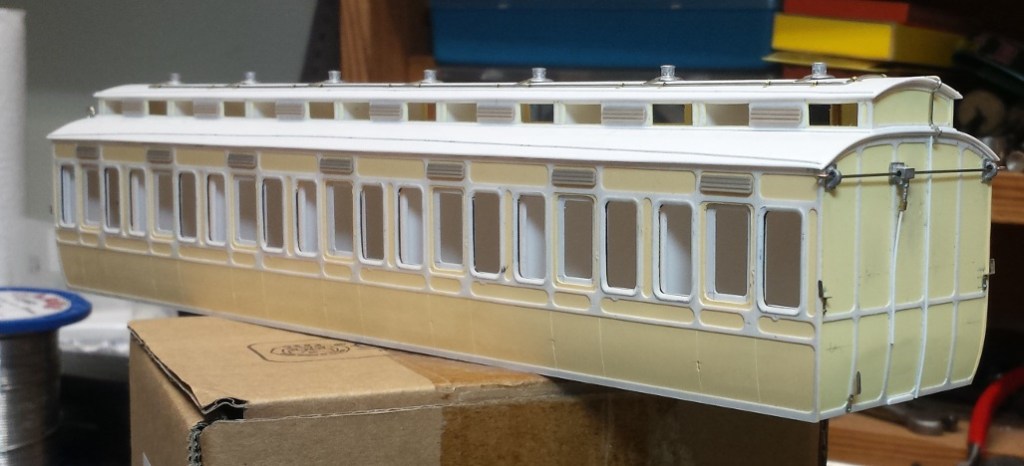
The photo shows two short coaches mostly built back in 2003 then forgotten about. They are now detailed ready for painting, but still need underframes building. The longer coach is a GWR 40ft bogie Clerestory 3rd. The sides were made on holiday somewhere also in 2003, but as there wasn’t much time for modelling in those days they sat on a shelf too for seventeen years! They are still in good nick so who says styrene doesn’t last? Below later in the month the Clerestory 3rd with ends and roof added – lovely!
There are another pair of sides for a compo, and two more finished compos waiting for paint. The two six wheelers will top and tail older short carriages when finished, and the clerestories will sit between the two 40ft PBVs that were actually finished and painted a few years ago. A six coach train in 0 Gauge in about 7 feet!
On Evercreech New the scenic boards at the rear of Prestleigh Viaduct are now complete and in place. The views below show plenty of scope for scenery. Forced perspective will be employed starting by modelling the farmhouse just behind the viaduct in 6mm scale.
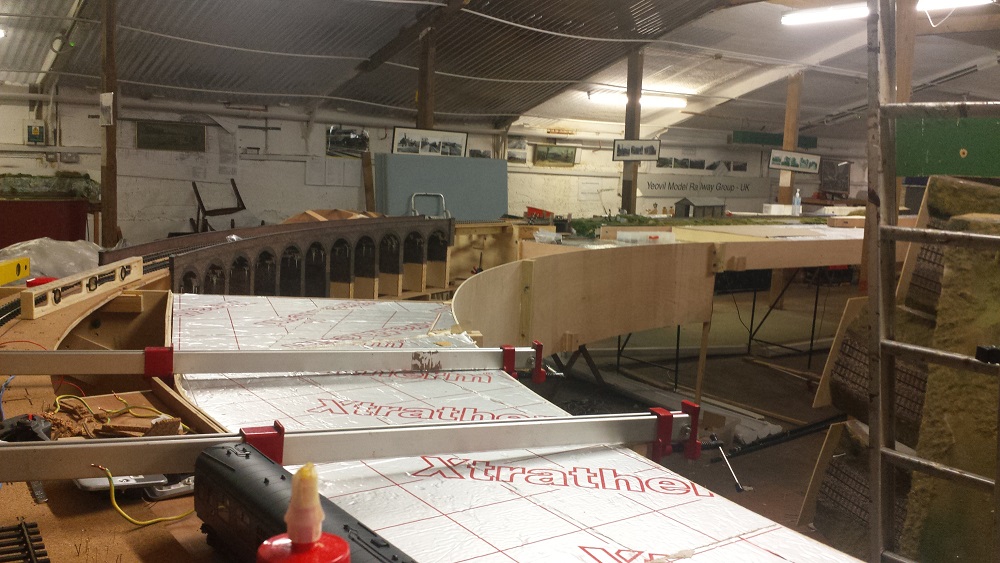
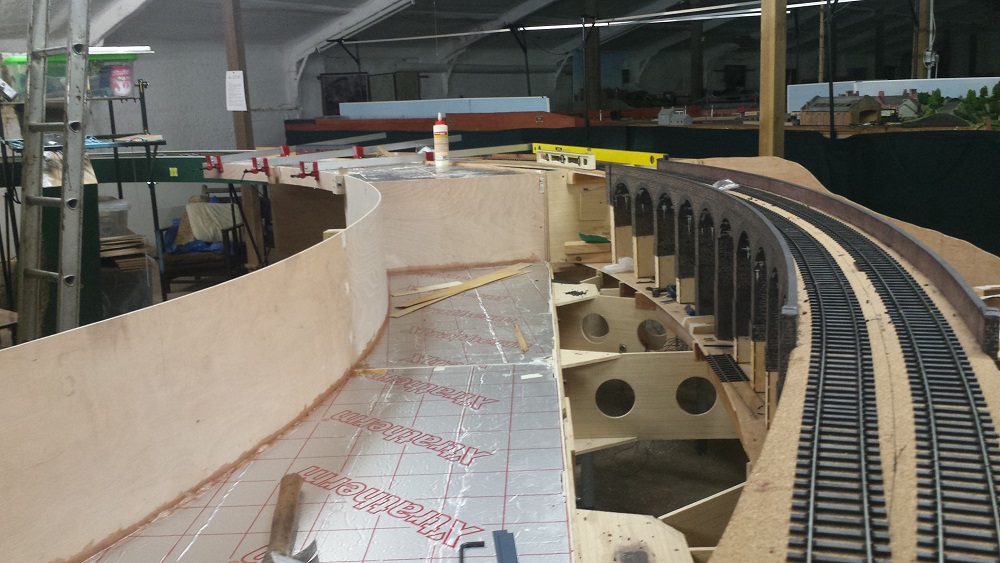
Dave S and John spent some time getting the track alignment right off the viaduct and towards the end of the scenic section, and Dave H reconnected the track wiring on the viaduct. We are allowing for two separate power districts so that at least one track will keep going in event of DCC gremlins on the other.

Painting the track and adding fibre glass to strengthen the rear scenic boards were just some jobs performed. 1.5mm gridding tape (thin masking tape) was used to mask the top of the rails.
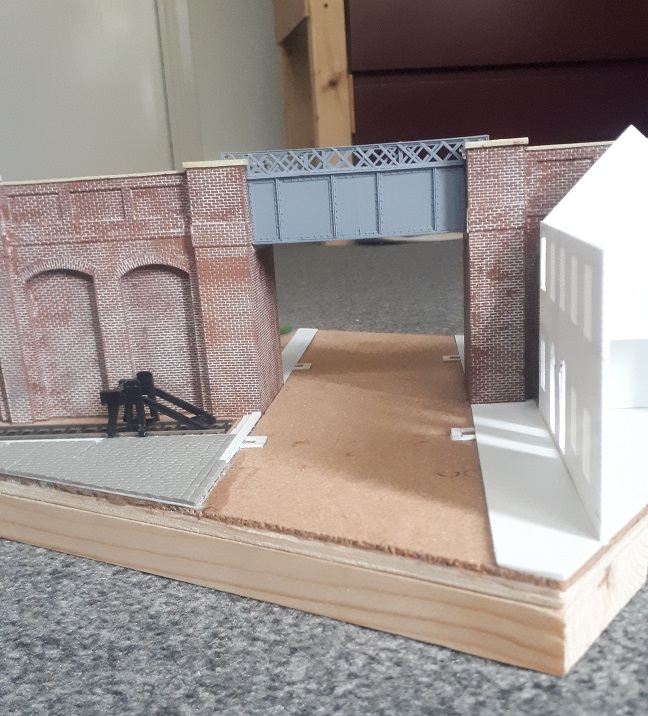
In a faraway place (well, Manchester) a super little photo plank is taking shape. The lattice work on the bridge is all individual styrene strips. The bridge deck alone came to ~130 individual pieces.

You were promised news of Verwood, and the first development is that the 3D Printed post box has been painted and attached to the front of the station building. I then sourced some more laser cut self-adhesive slate strips and finished slating the roof. This time the required gauge was worked out and guide lines ruled on the slopes before starting! The roll top ridge tiles were made from plasticard and secured with good old Uhu. In the background can be seen the second attempt at the rafters for the glazed toilet vent. Second attempt because the original pitch was not as steep as the toilet roof which I suspect is a little too steep. Ho hum.
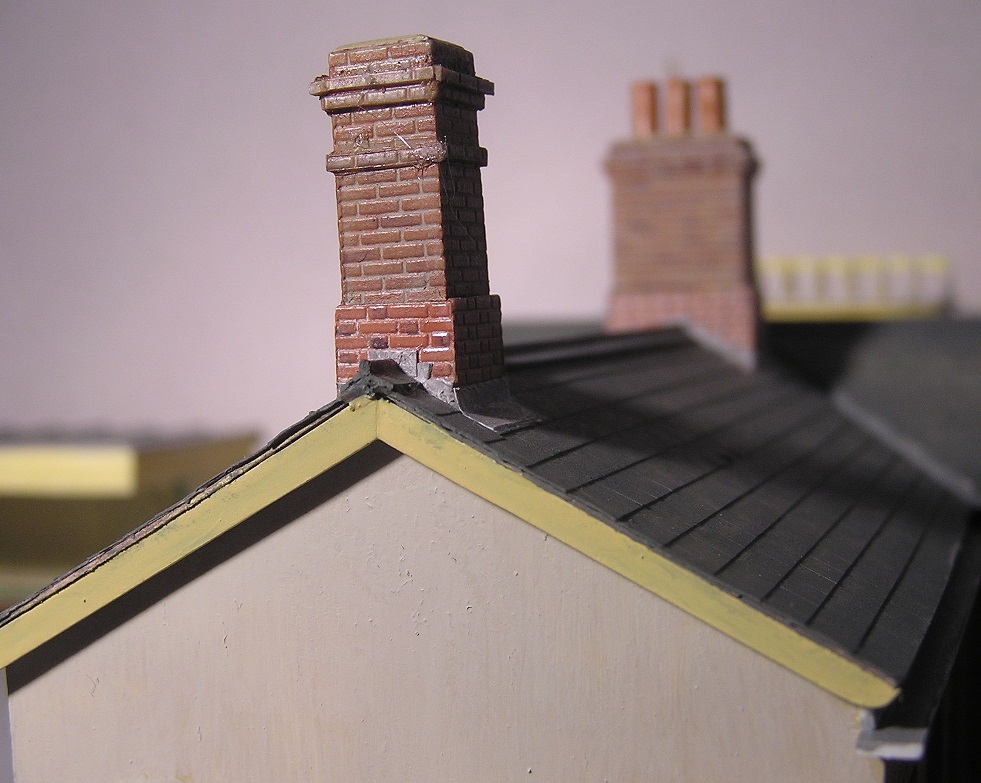
The step and apron flashings were represented using more self-adhesive paper. The step flashing can’t actually be made out on photos of the real thing, but it must have had them. The paper slates were then primed with White Knotting (a clear Shellac) before painting with enamels. The rendered end wall is starting to go a warm grey colour that should contrast nicely with the creamy-orange bargeboards.
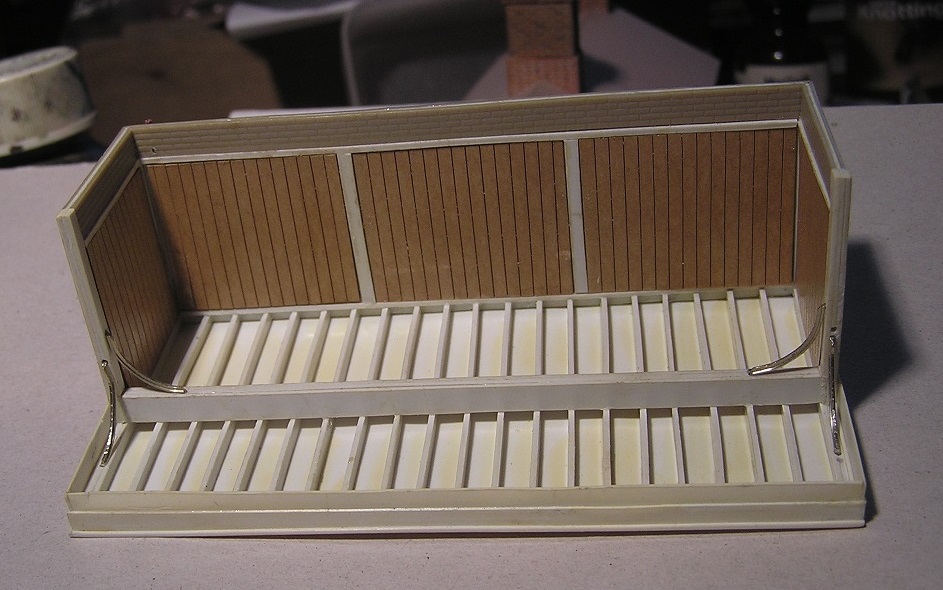
Next up was the Down Platform Shelter. This was another ‘Shelf Queen’ from the Noughties with a fully modelled (and calculated) roof structure. The plastic strip weatherboarding had caused the thin walls to distort (solvent abuse) and these were replaced with laser cut and engraved phenolic card panels (inside and out) attached with Roket Glue. Clamped flat overnight that did the trick. In a rare moment of inspiration it was realised that the slender curved ‘T’ section brackets could be fabricated from the base of a bullhead rail. A gutter was improvised from plasticard and a downpipe made from copper wire.

Painting is in progress, but it’s hard to find the right shade of weathered grey-green (or orangey-cream) seen at Verwood. These colours varied between the buildings according to their exposure to the elements. The bench that is against the back wall is not clear in photographs, but does appear to have waisted supports similar to some Victorian school benches and that is how it is modelled. Just like the real thing the interior is in heavy shadow!
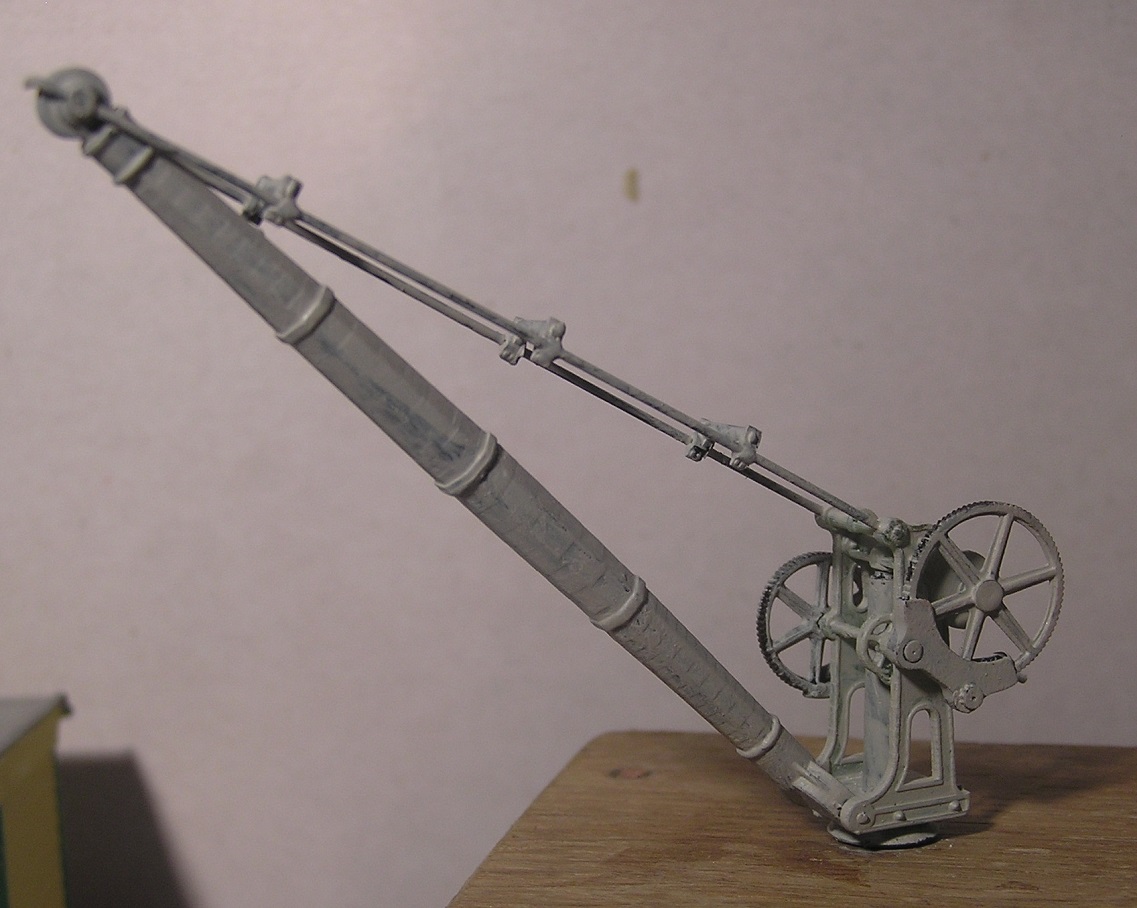

Lastly thanks to Dave S and his 3D printer we have what should be the actual Verwood crane just waiting for chain and hook. More progress on Verwood in a month than in the previous two years!
